
75 photos
To create an interesting and convenient landscape design on 6 acres is difficult, but quite real. To post ...
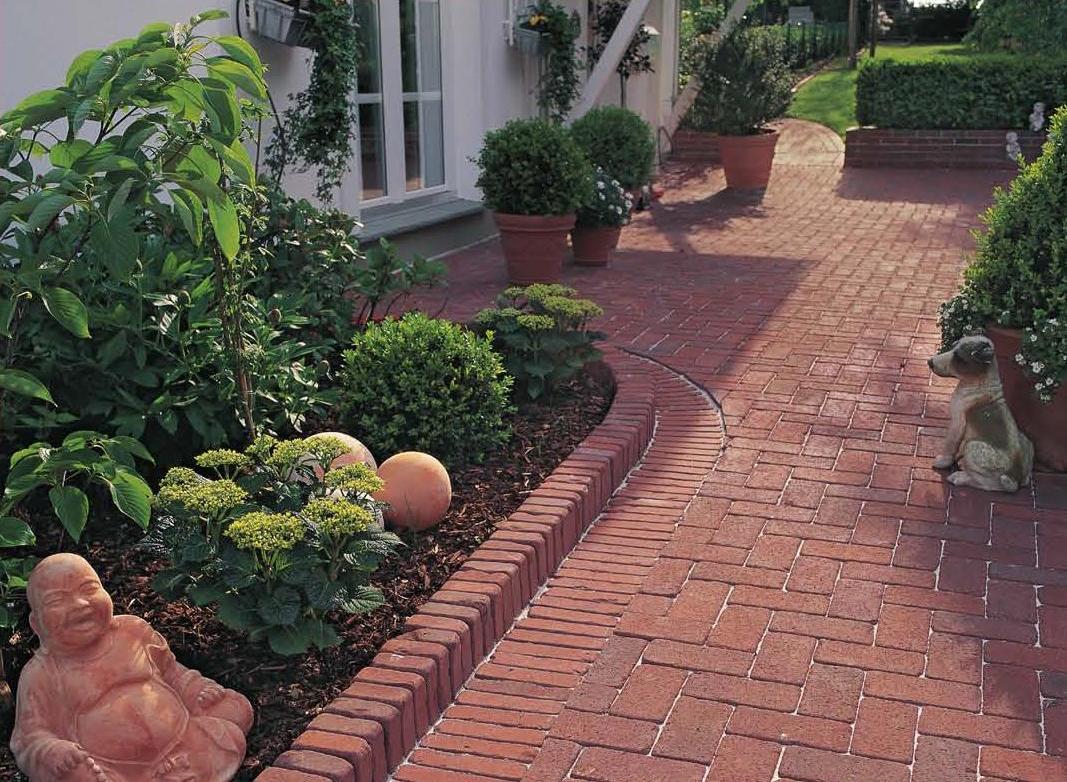
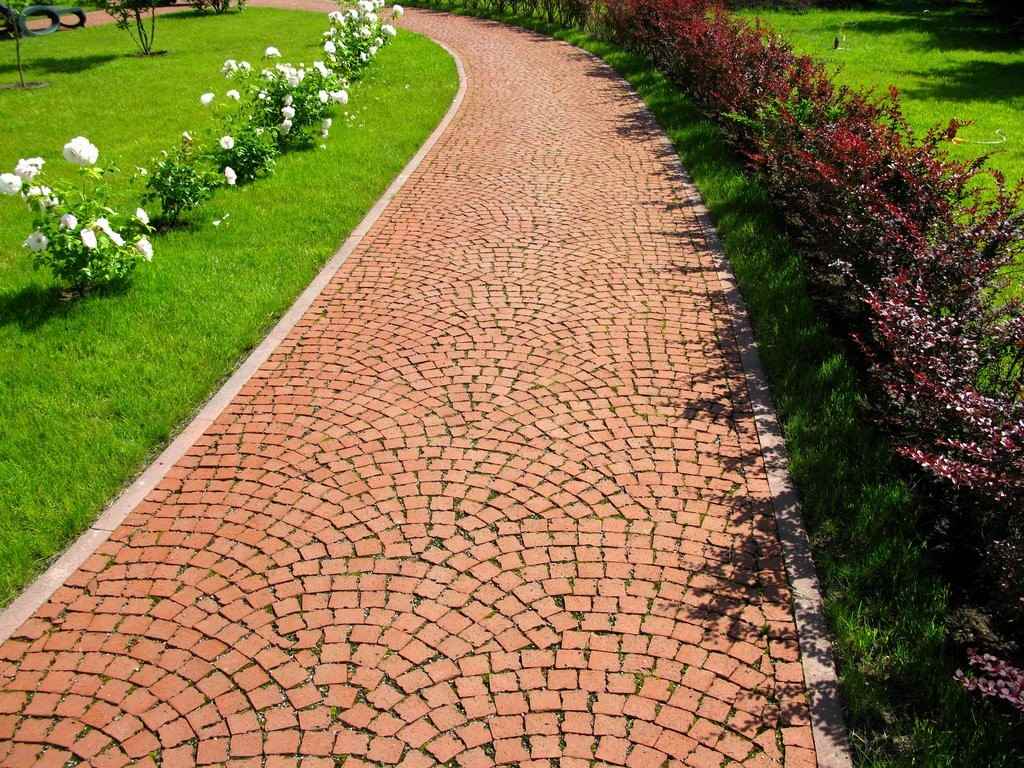
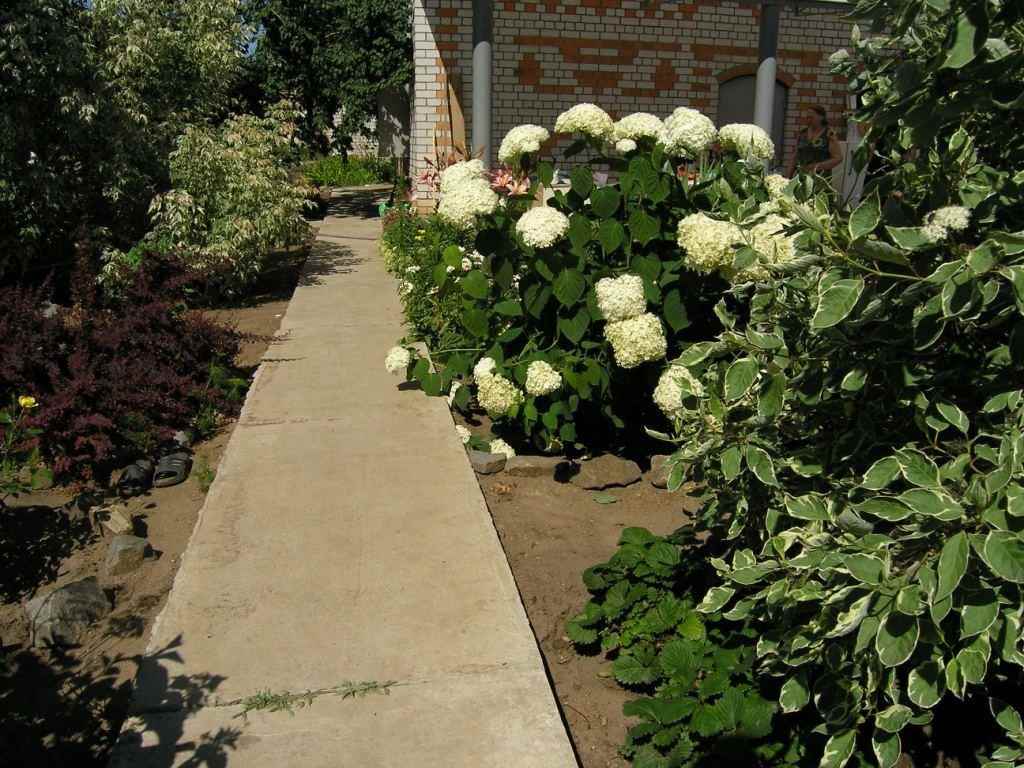
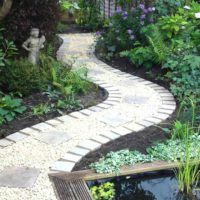
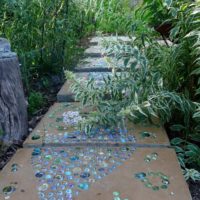
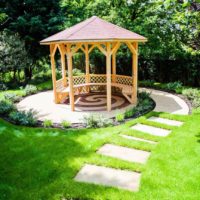
Refining a personal plot is not as difficult as it seems at first glance. The least expensive idea is to lay garden paths. Such a design will not only give an attractive appearance to the local area, but will also become a very functional addition. In rainy weather, you don’t have to walk on wet soil, the presence of a garden path will relieve such inconvenience. The modern market offers a lot of materials for arranging a personal plot. It is enough to make a choice based on taste preferences and financial capabilities. In order to significantly save money, it is not necessary to turn to landscape designers for help; there is no need to look for a team of tilers. It is quite realistic to lay garden paths on your own, you just need to know a few subtleties that you may encounter in the process of arranging a house territory.
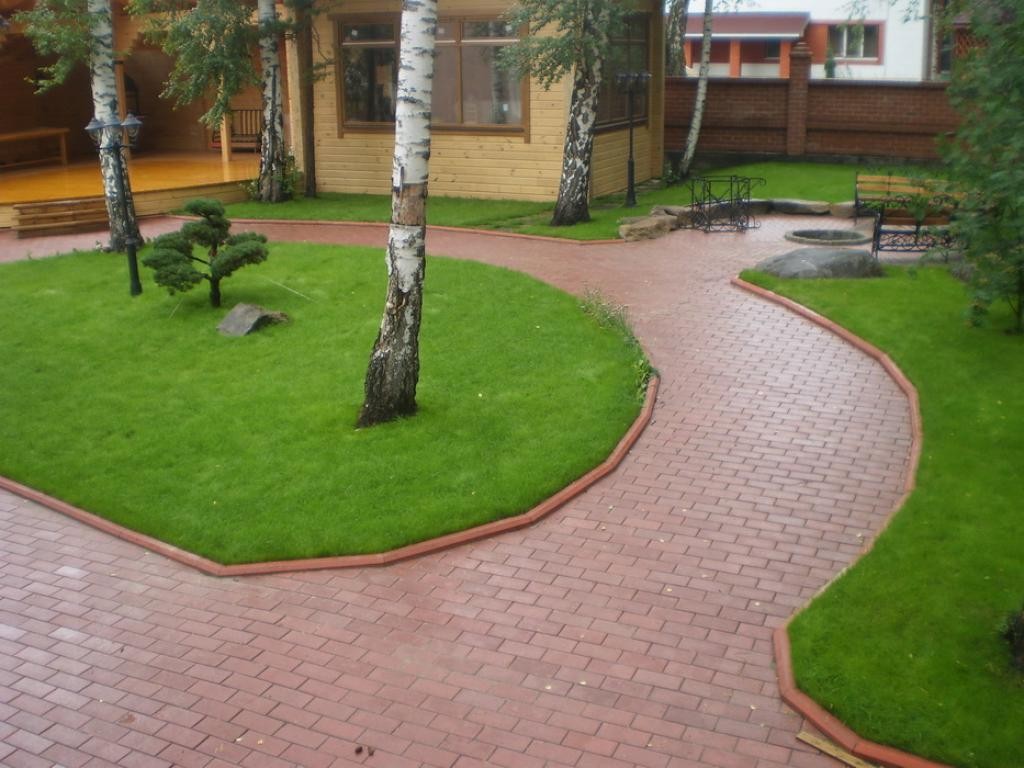
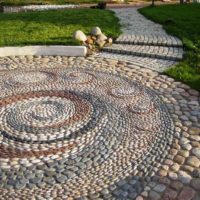
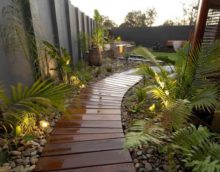
Garden paths can be built independently
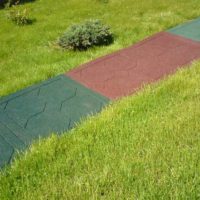
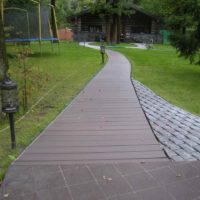
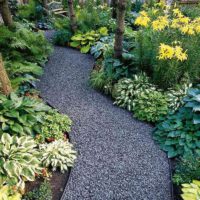
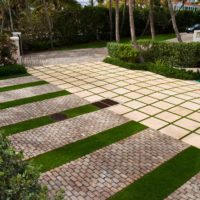
Garden paths are the budget option for landscaping
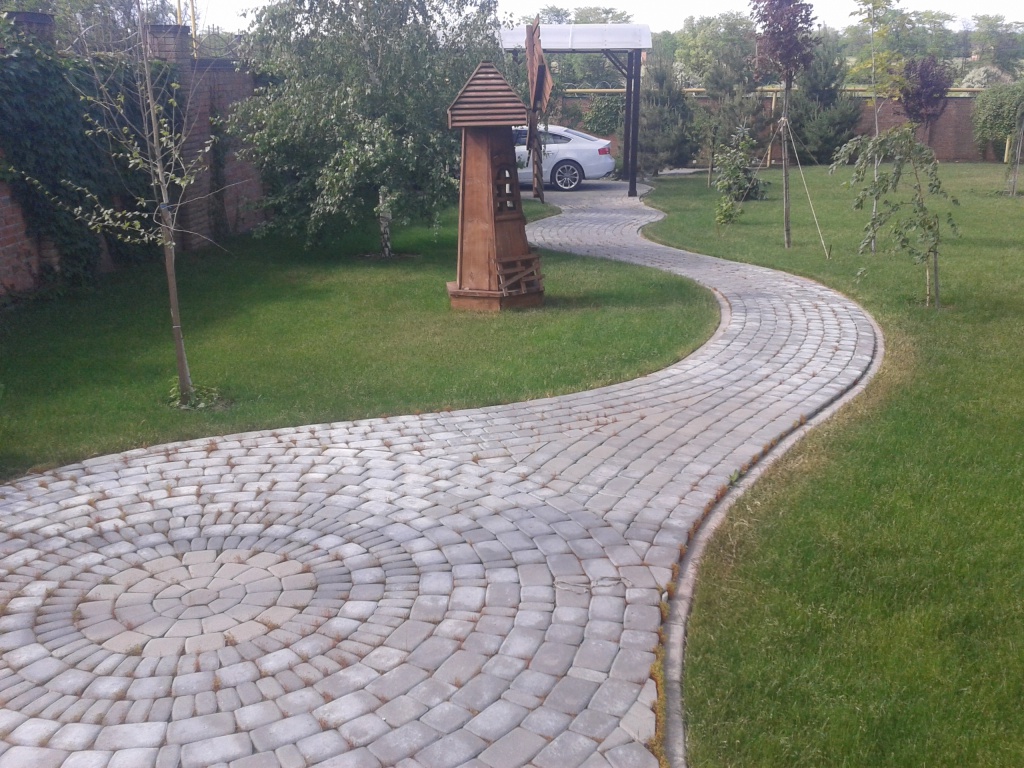
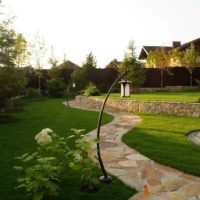
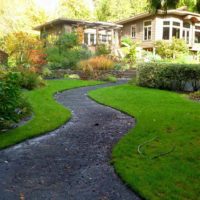
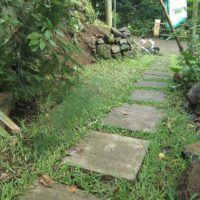
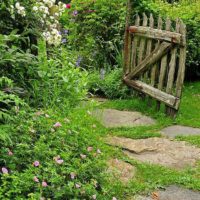
Garden paths can harmoniously decorate a site
Content
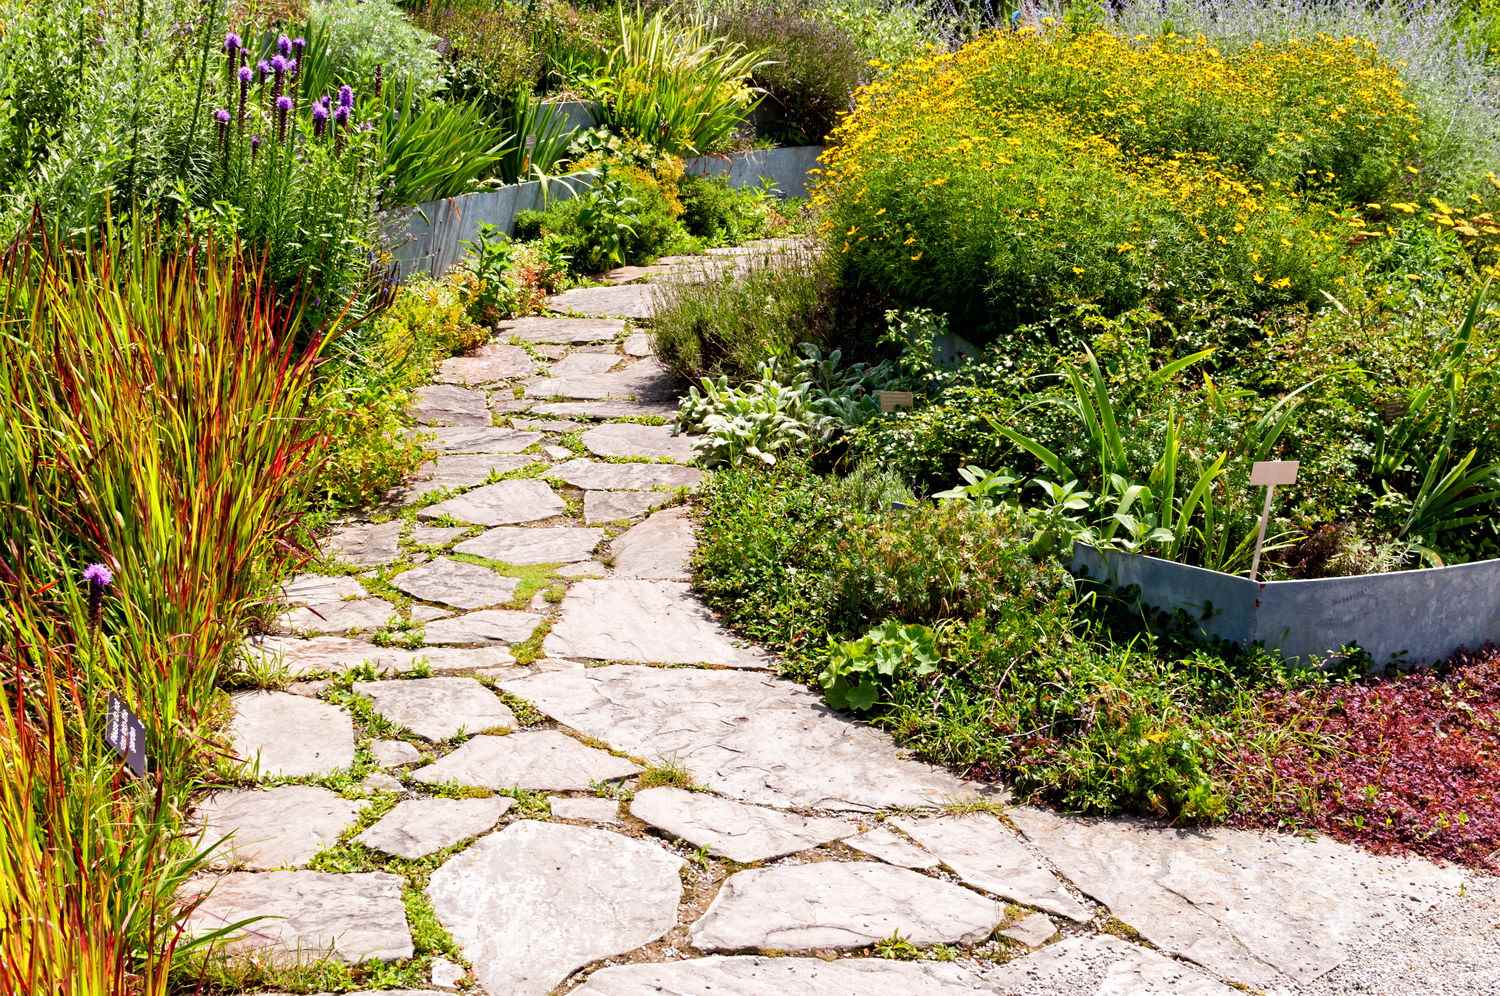
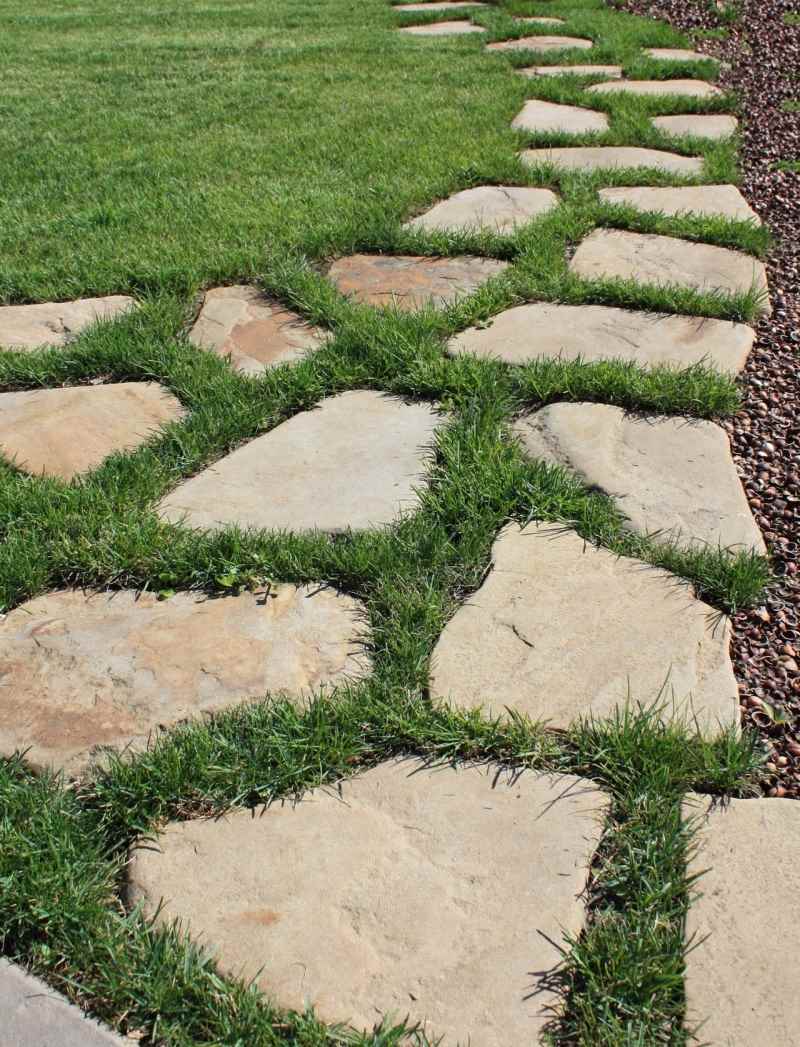
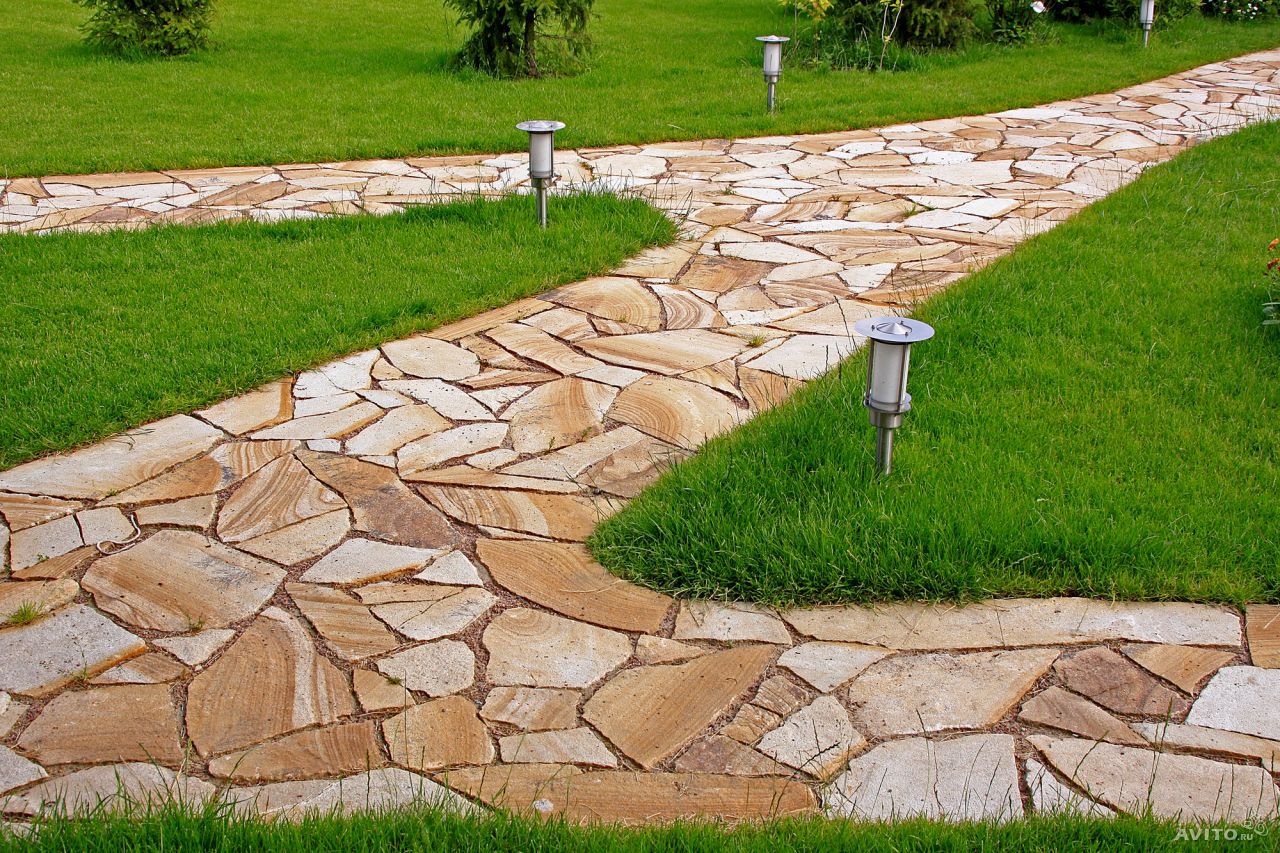
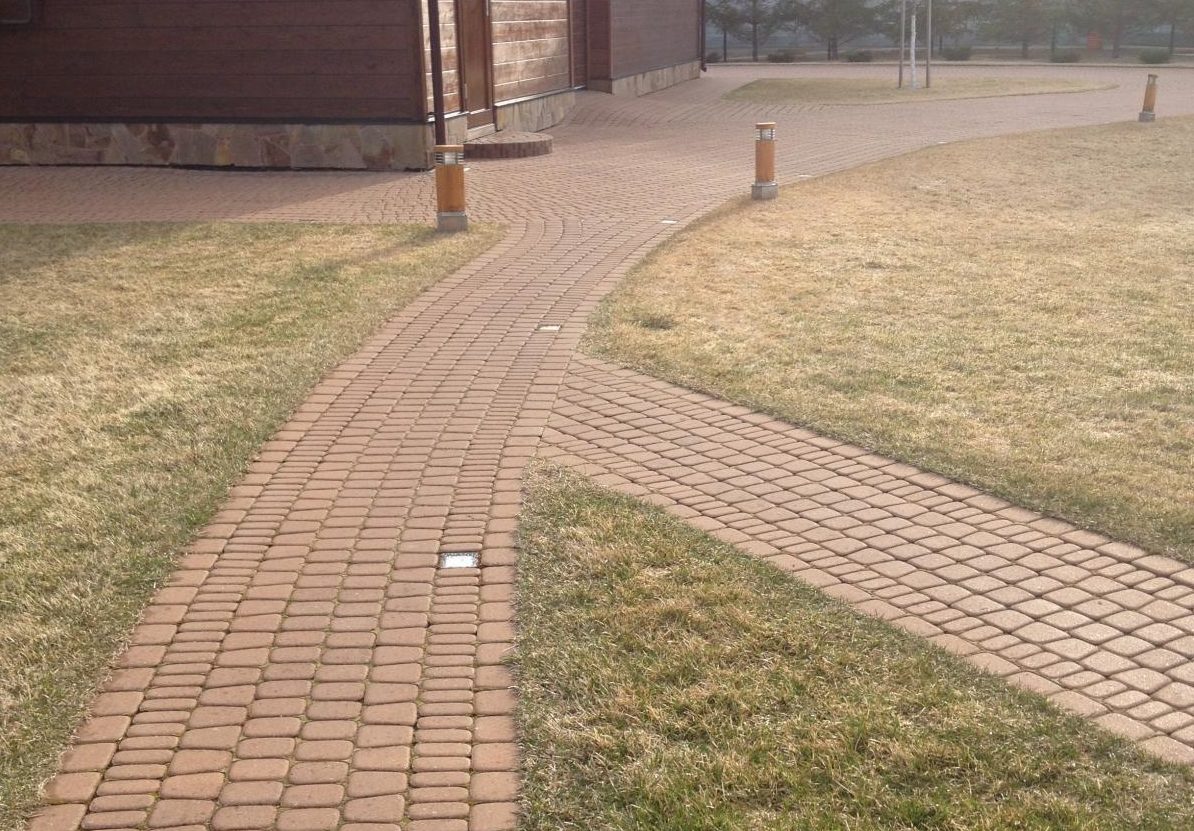
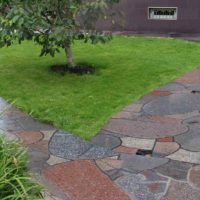
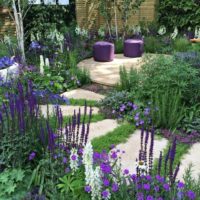
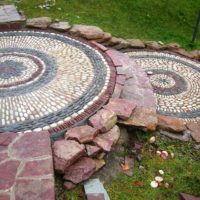
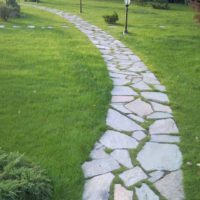
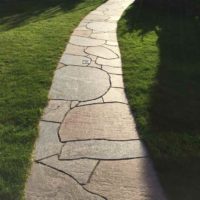
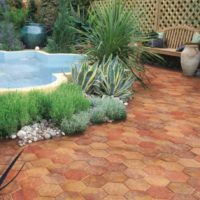
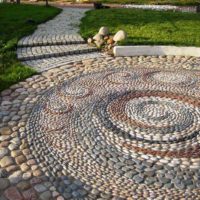
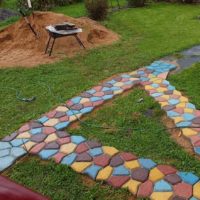
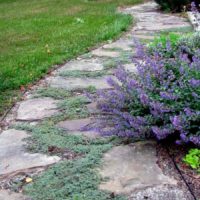
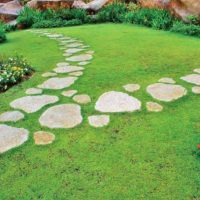
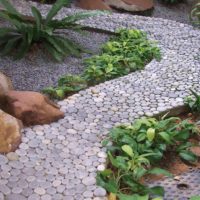
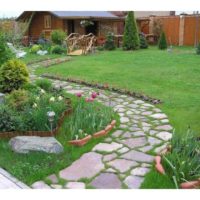
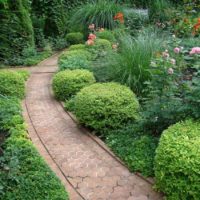
Tracks decorated with natural stone always look spectacular and original. The main advantages of natural material are ease of installation, heat resistance and long service life. The disadvantage is the high price of the coating, the massiveness and the need for a sketch before starting work. Natural stone is considered an elite material, and many developers prefer to practically not use it due to the high price. But in this case, the price fully justifies the quality. Stone garden paths will last for decades.
Natural stone is mined in quarries, and then processed. This means that the material is environmentally friendly and has a variety of colors and sizes. Among the methods of paving paths, two main methods are distinguished: by applying a coating to a sand cushion or by distributing the coating directly onto the concrete mix.
Such tracks can last a very long time.
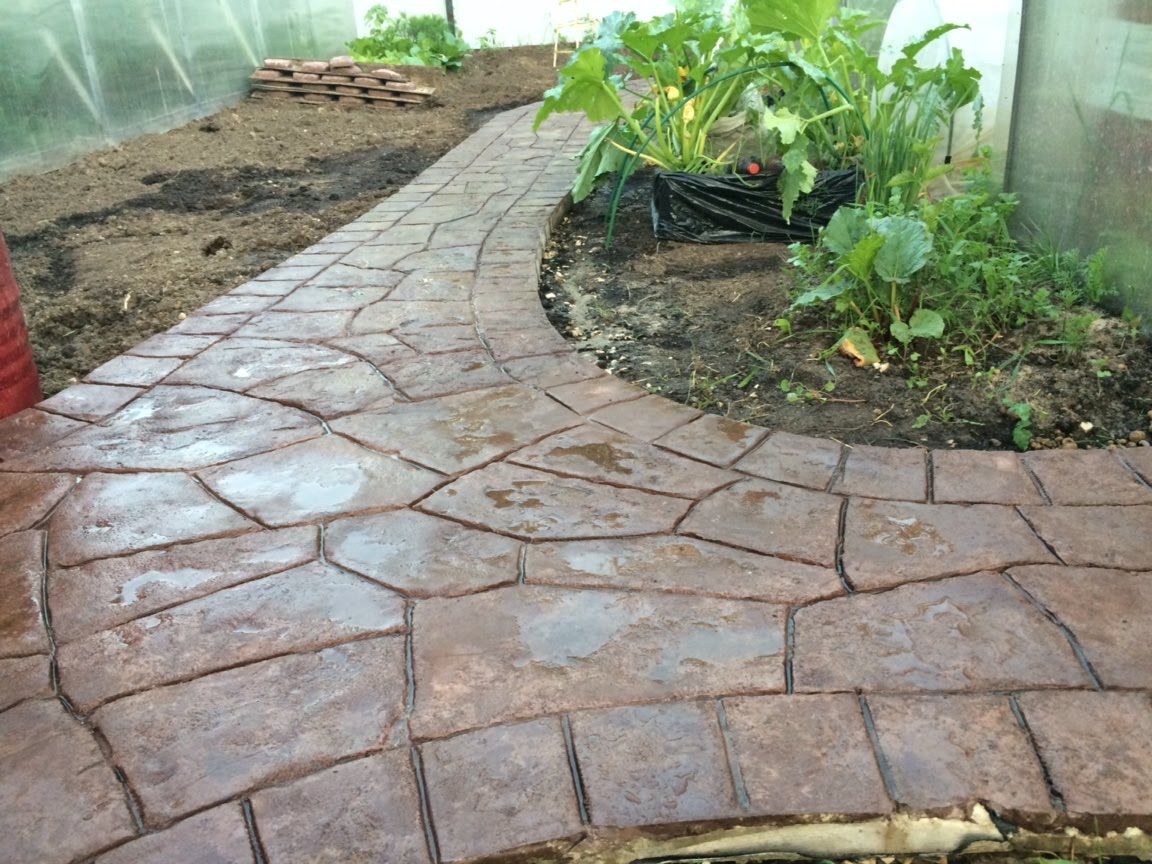
Natural stone tracks look very beautiful
You can also lay tiles on a concrete base.
When processing with water, make sure that the sand is not washed out

The surface on which the tile will be laid needs to be leveled
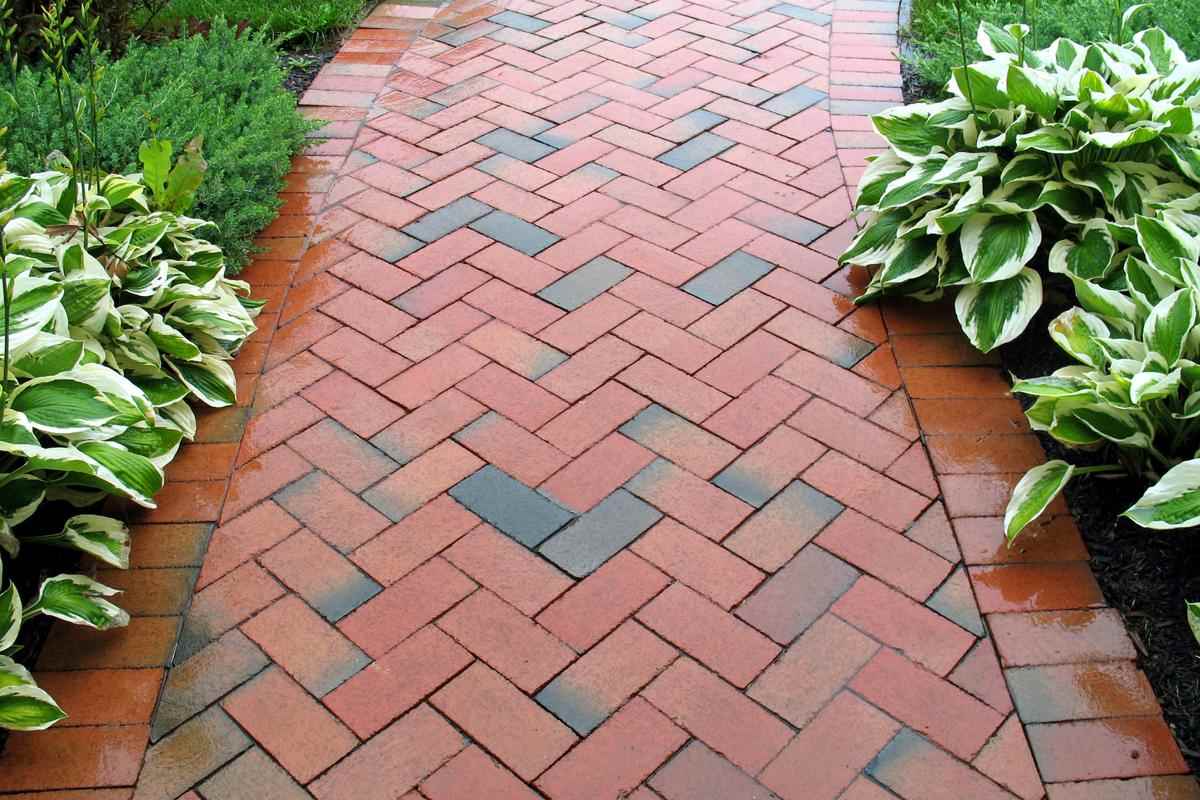
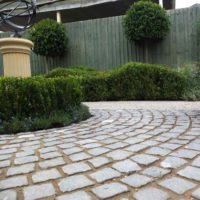
A boundless imagination, a set of necessary equipment and a little patience - this is what you need when working with a clinker. The material is of various shapes, but the most common are rectangular and wedge-shaped. Clinker brick began to be used two centuries ago and was used for paving roads and sidewalks. Later it was used to decorate gardens and summer cottages.
The visiting card of the material is not only an aesthetically attractive appearance, but also a number of functional advantages. Clinker brick is made of clay, according to the method of full sintering. This means that such paving will last for many years due to its non-susceptibility to extremely low temperatures and moisture. It does not crack, can withstand heavy weight, and is cleaned with a brush, detergent and water. In addition, the material does not deteriorate from exposure to salts, alkaline products and other abrasive substances.
The material is very resistant and not subject to bad impact.
A track made of such material can last you for many years.
If you decide to design a country-style garden, the material will fit perfectly into the overall picture. Close attention must be paid to the paving method. A garden path with smooth bends will look spectacular. At the same time, pay attention that the path does not consist of sharp turns, this will save from trampling the material along the inner corner. The process of working with the coating is not complicated, but has several nuances:
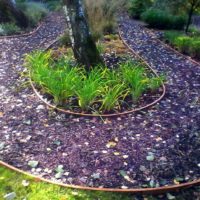
Consider having a border. The border will look great from an aesthetic point of view and will help maintain the contours of the path, blocking the path of flowing moisture. It can be decorated with a brick, gently placing the material on the edges of the track or digging into previously dug small trenches.
Smooth bends further enhance the overall picture.
The border will further decorate the path
Such material will fit perfectly into the country style.
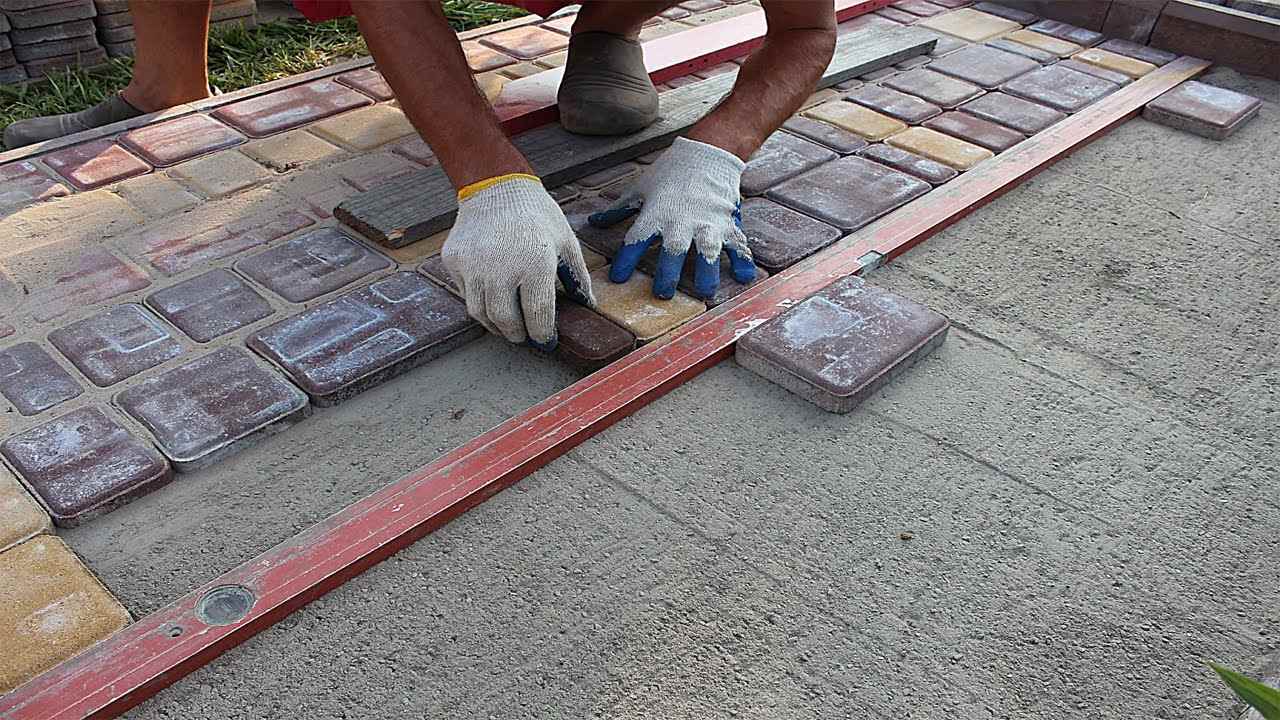
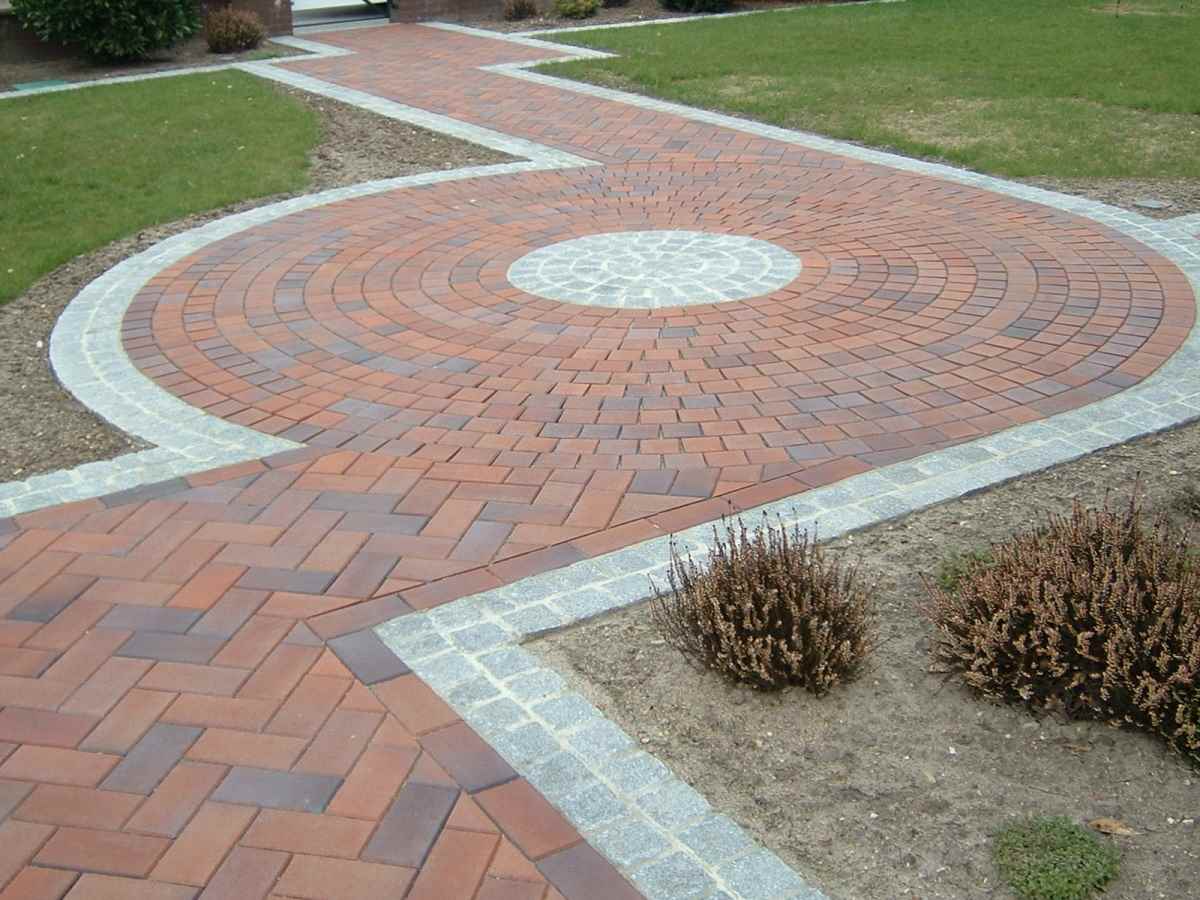
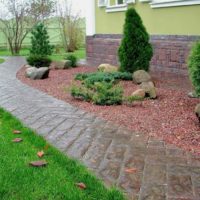
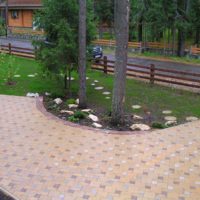
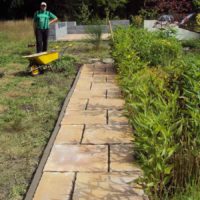
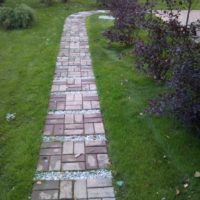
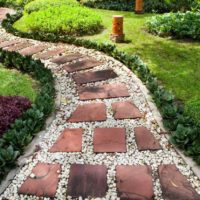
Paving slabs will last for many years, it is enough to lay it correctly. It is not difficult to choose a tile; on the construction market there are many varieties of coatings ranging from color to size and the printed pattern on the surface. You can easily put the material on your own without resorting to the help of professionals. To save money, it makes sense to use the cheapest and simplest methods for laying paving slabs. To work, you will need tools that every owner will surely find: bayonet and shovel shovels, pegs, level, rubber mallet, rake, soil leveling device, hard bristle brush.
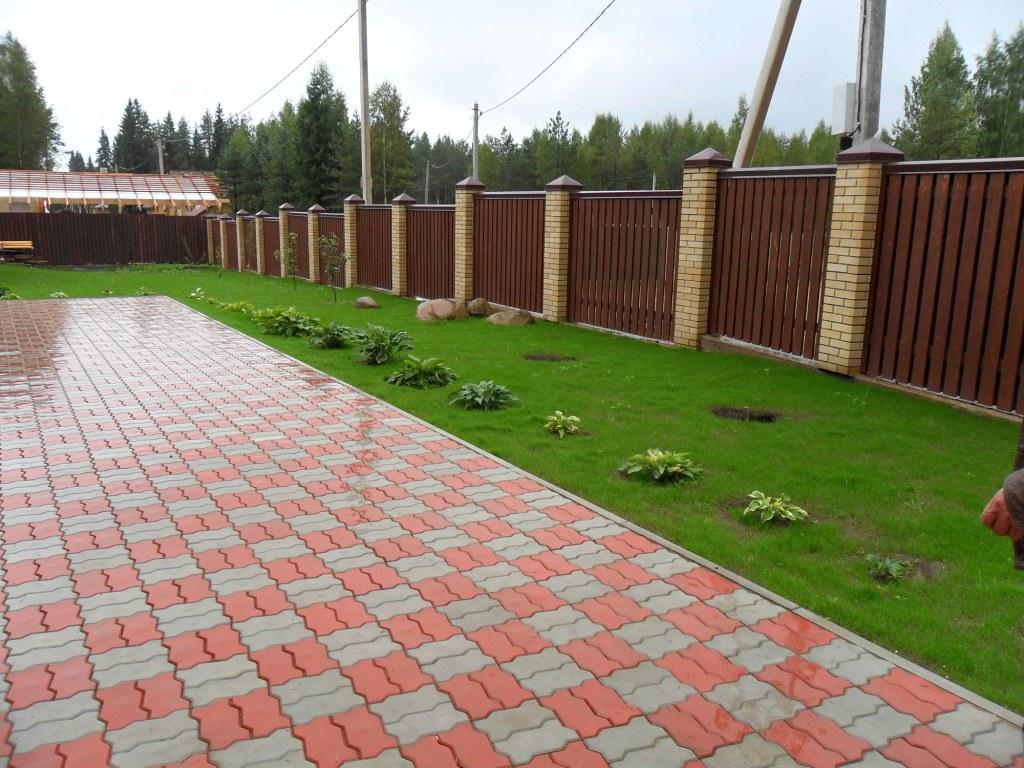
To lay the tiles yourself, you will need a standard set of tools
That the tile served for a long time, it is necessary to lay it correctly
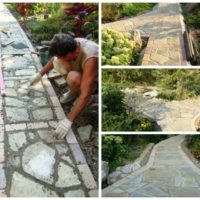
Before starting work from the territory, you need to remove all unnecessary, remove excess grass. Then go to the layout of the site and think over the width of the paths and their directions. Wide garden paths are irrational. It is quite expensive and takes up a lot of space that can be used for other needs.
To mark the boundaries of the future surface, pegs are placed and a rope is pulled on them. This is done to give the track a flat surface. Recesses are dug in the ground. To determine the depth of the trench, it is necessary to measure the thickness of the tile. For example, if the material is 7 cm thick, it is advisable to make a hole of 10 cm in the ground. Next, according to the boundaries of the rope, the bead is beaten off with a shovel. The tool must be kept strictly vertical. After the work on the sides is completed, you can begin to remove excess soil layers inside. The next step will be the distribution of sand inside the formed space, while you need to monitor the uniformity of the surface. You can fix blemishes with a shovel. Now you can begin the most responsible occupation: laying paving slabs. Check the quality of work is necessary through the level. The slope per 1 m of the track should be equal to 1 cm. The resulting seams are rubbed with sand, treating the tile with water.
Before laying, you need to clean the area from debris
Next you need to make markup
When laying tiles, you need to check the surface level
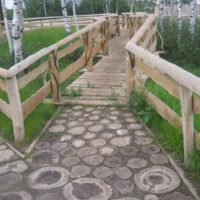
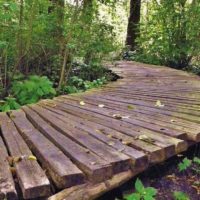
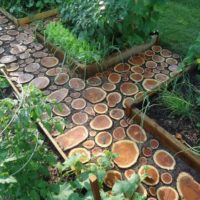
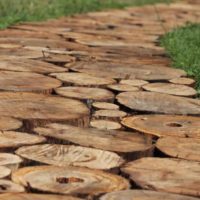
The purpose of any garden path is exclusively utilitarian, but what if you show a little imagination and get creative with the issue of arranging the territory. Wood is an environmentally friendly material with an aesthetically attractive appearance. Wooden paths will decorate any site and will look non-trivial and interesting. The material can be a bar, panels, garden parquet or boards. But more and more often, a wooden saw cut is used to design a personal plot.
Before starting work, it is necessary to make a choice between numerous varieties of wood. It all depends on how long you plan to operate the track. Oak will last about ten years, pine will not lose its properties for 7 years. The most durable breed can be considered larch, it is the most durable and will last about 25 years. The more load will be on the track, the more wood should be in diameter. It is advisable to make them at least 15 cm in height. With these sizes, the saw cut of the tree is firmly fixed in pre-prepared holes and will not fall out during operation.
IMPORTANT! It is necessary to abandon a saw having cracks. Before laying, it is recommended to clean the tree from bark, this will extend its life.
The marking of the site is carried out, as in the cases described above. For comfortable movement of one person, 60 cm of the width of the track will be enough. A waterproofing film is laid on the bottom of the trench. If it was not at hand, you can stop on a regular plastic film. The next step will be the distribution of the required amount of crushed stone on the prepared surface. Crushed stone acts as a drainage and protects the wood from unwanted moisture. Sand is evenly distributed, after which you can start laying the saw. The distance should be minimal. The gaps between the workpieces are filled with sand, to seal the material is watered with a small amount of water. You can decorate a track in many ways. For example, paint the saw cut, sow gaps with grass or decorate with pebbles. Remember, the tree is subject to the negative effects of the environment, so before laying it is better to cover it with special compounds that prevent its decay.
|
Wooden walkways |
Installation Recommendations |
|
From saw |
It is necessary to dry the material well, to place large parts along the edge of the track, the remaining elements can be used for fencing. |
|
From timber |
In the center in the dug trench, the base should be significantly higher for the outflow of water. The structure is covered with gravel and well tamped. |
|
From the boards |
In several places of the timber, cuts are made where transverse parts are inserted. Wood can be treated with wood stains, and a curb can be built around the edges of the structure. |
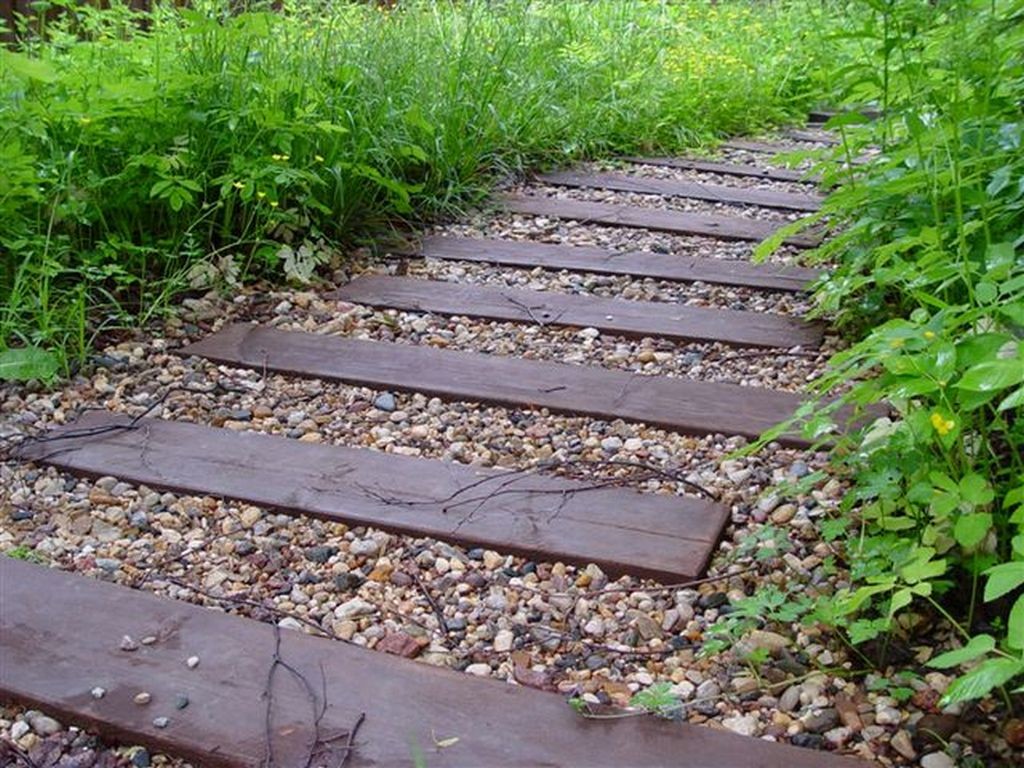
You can make a path of wood yourself
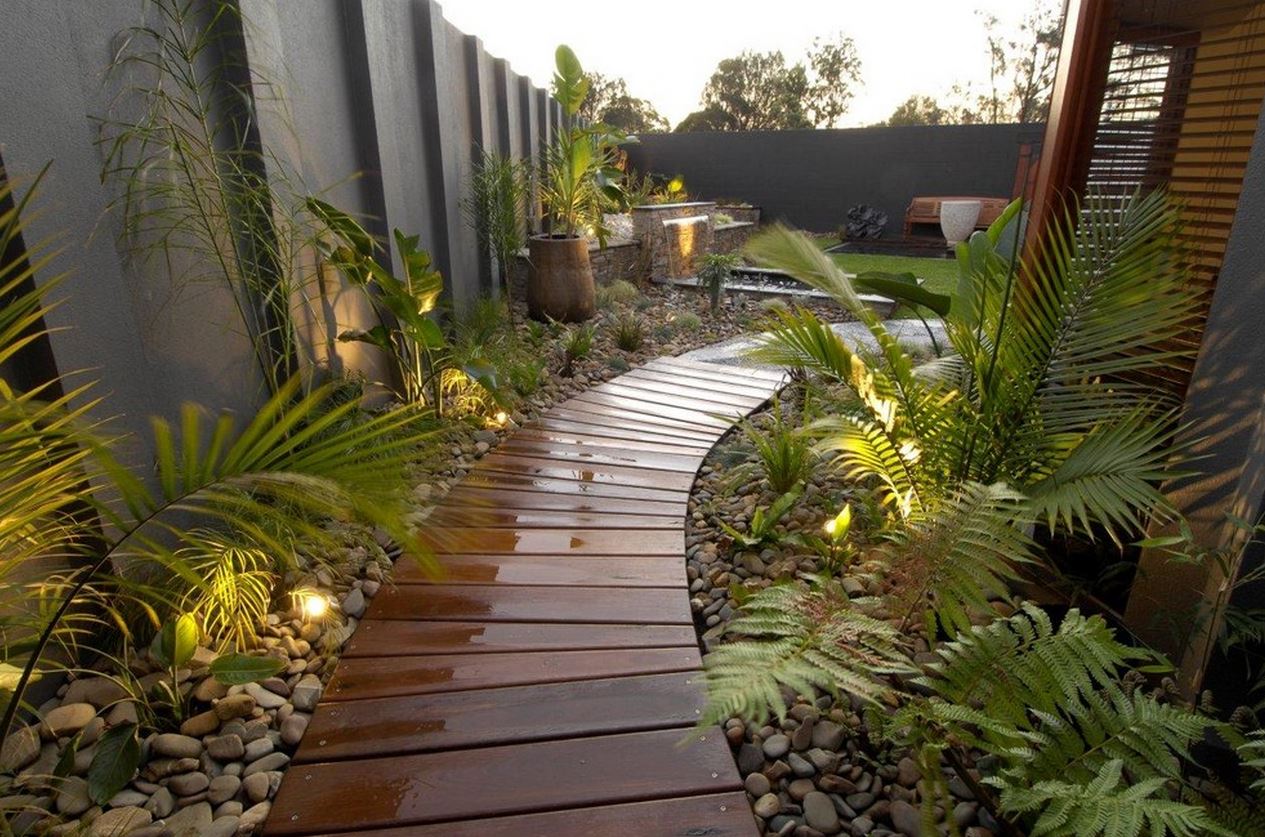
Wooden paths will decorate any site and will look nontrivial and interesting
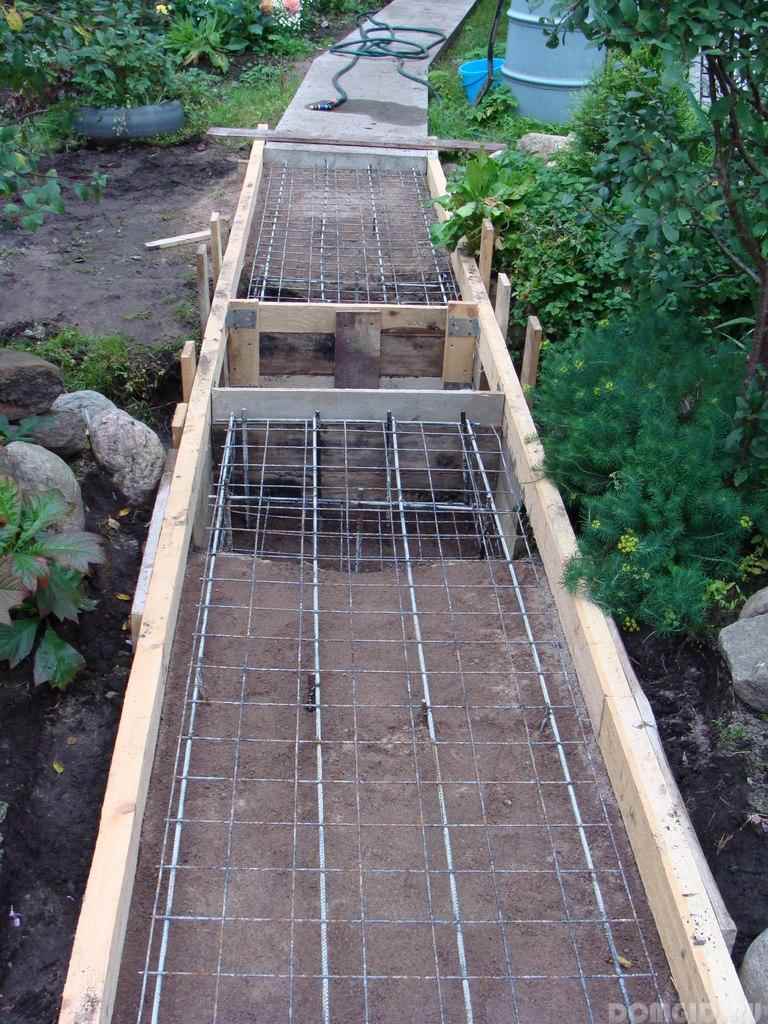
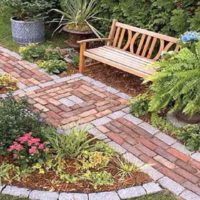
Each method of laying a garden path has pros and cons. Concrete track is no exception. Thousands of owners of individual housing choose this way of registration of the local area. Concrete is a durable material, capable of serving more than a dozen years with proper use. It is easy enough to create a design without resorting to the help of professionals. And besides, the concrete path is a great way to save money, the material is relatively inexpensive. Concrete tolerates significant mechanical loads without any problems, and installation does not take much time. But, as elsewhere, there are also disadvantages. In the offseason, the material often cracks. This is due to the movement of the soil in rainy weather. Change the location of the track in the future is unlikely to succeed, the construction is major. Therefore, it is better not to rush and think through the directions of the paths and their width well.
The process of laying a track with your own hands made of concrete must begin with the installation of formwork. It is better to use boards for this. If you plan to give some design bends, use any plastic materials. Plywood is a great option. Please note that in any case, concrete must be poured in parts. This is done to compensate for the expansion or contraction of the material from temperature extremes. Therefore, there is no point in making a solid formwork over the entire area. You can lay it partially, thus significantly saving materials on the structure. Professionals recommend forming a pillow from a mixture of compacted crushed stone and sand. It makes sense to think about waterproofing. For these purposes, a geotextile or roofing material will serve. The next stage is concrete pouring. The mortar is mixed with cement and sand in a ratio of 1 to 3. The preferred concrete thickness should be at least 5 cm. The resulting layer is leveled with a spatula. After the appearance of moisture on the surface, you can remove all the surface irregularities and the concrete is wetted with water.
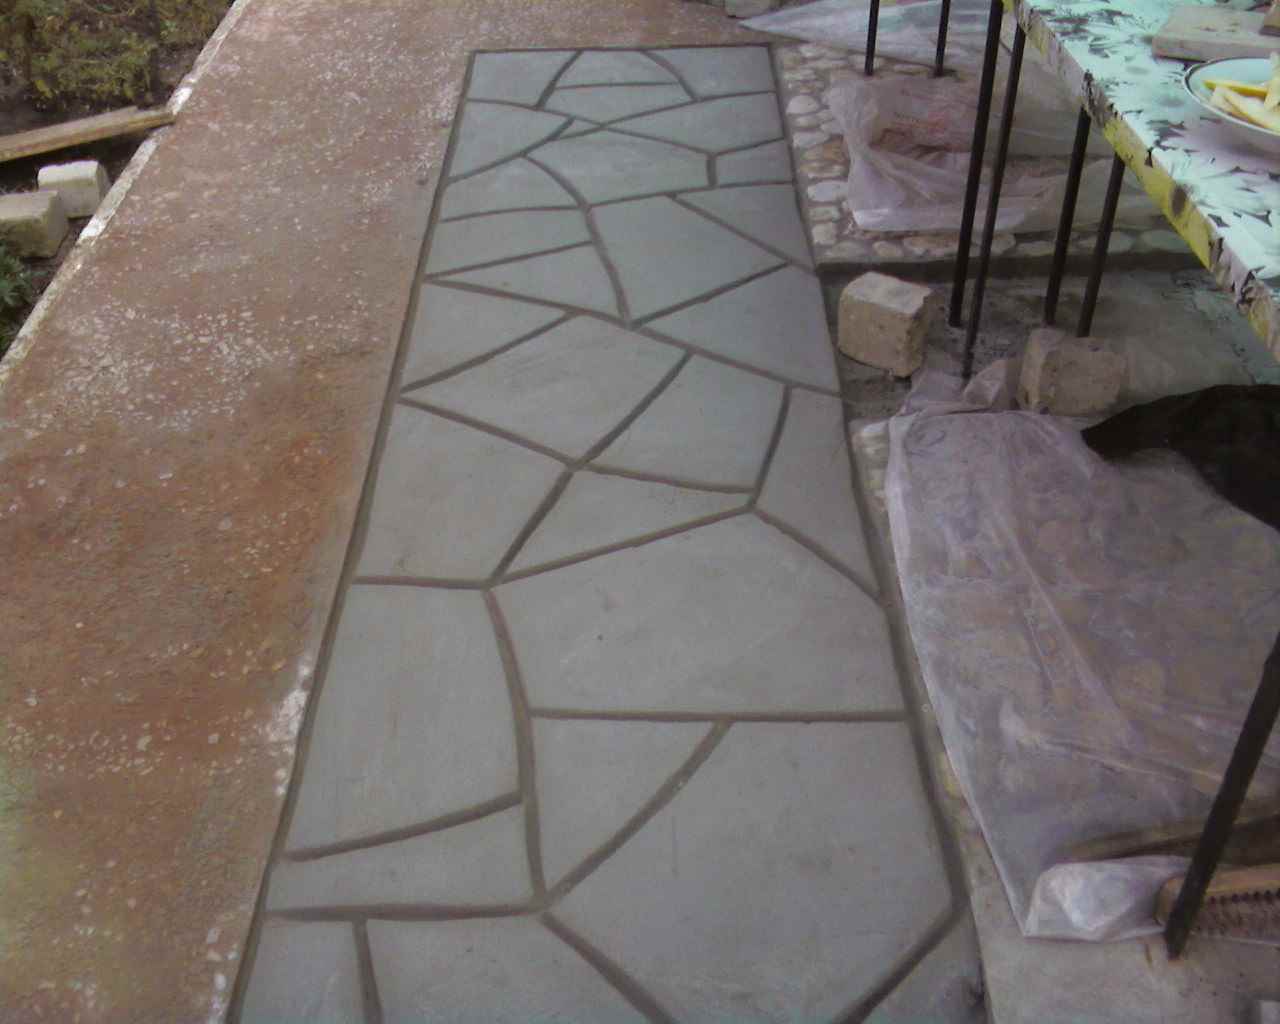
Concrete track is the cheapest and easiest option
You can create such a track without the help of professionals
Concrete is a very durable material, and can last for more than a dozen years.
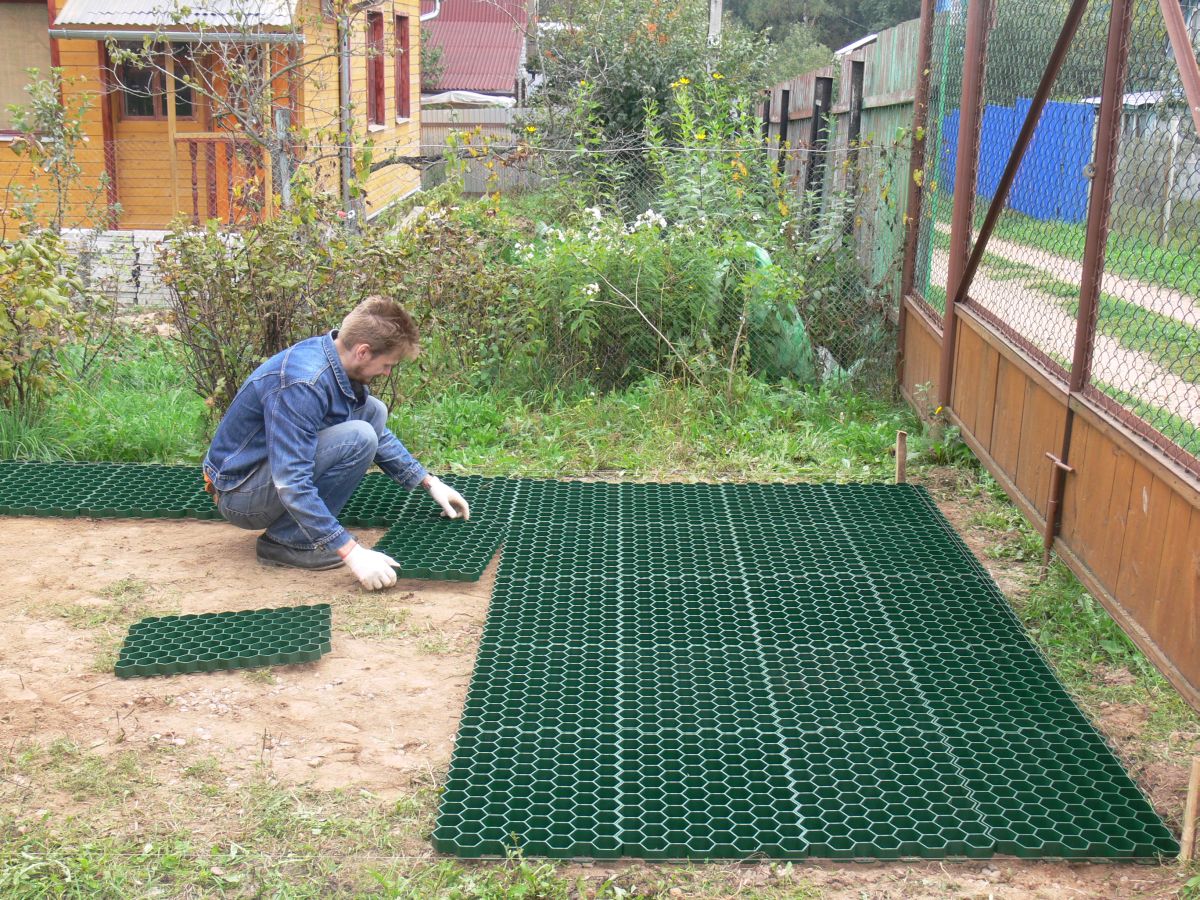
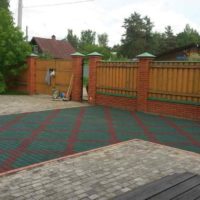
The use of plastic modules in laying a garden path is a new technology that has managed to win thousands of fans around the world. Plastic - the material is quite light, cheap, durable and durable. The pluses include the fact that plastic modules can be removed at any time. They are not negatively affected by the environment and do not enter into chemical reactions. It is in this case that you can choose any option, because on the market there is a huge amount of plastic of various shapes and colors. The tile includes a substrate and an outer part. The substrate is designed for ventilation and outflow of excess moisture. Before installation, it is necessary to level the surface on which it is planned to lay the material. It is better to lay additional drainage on the soil. Crushed stone can be used as drainage. Installation itself is quite simple and is carried out using a lock. This is how the parts of the tile are interconnected.
|
Kinds |
Main characteristics |
|
Garden parquet |
Planks, which are laid out in sections on prepared soil. The elements are connected using a locking mechanism. |
|
Lattice modular coatings |
Installation must be done on a perfectly flat surface. The material is relatively inexpensive, quite durable. |
|
Lawn grate |
Cellular material that does not require preliminary soil preparation before installation. |
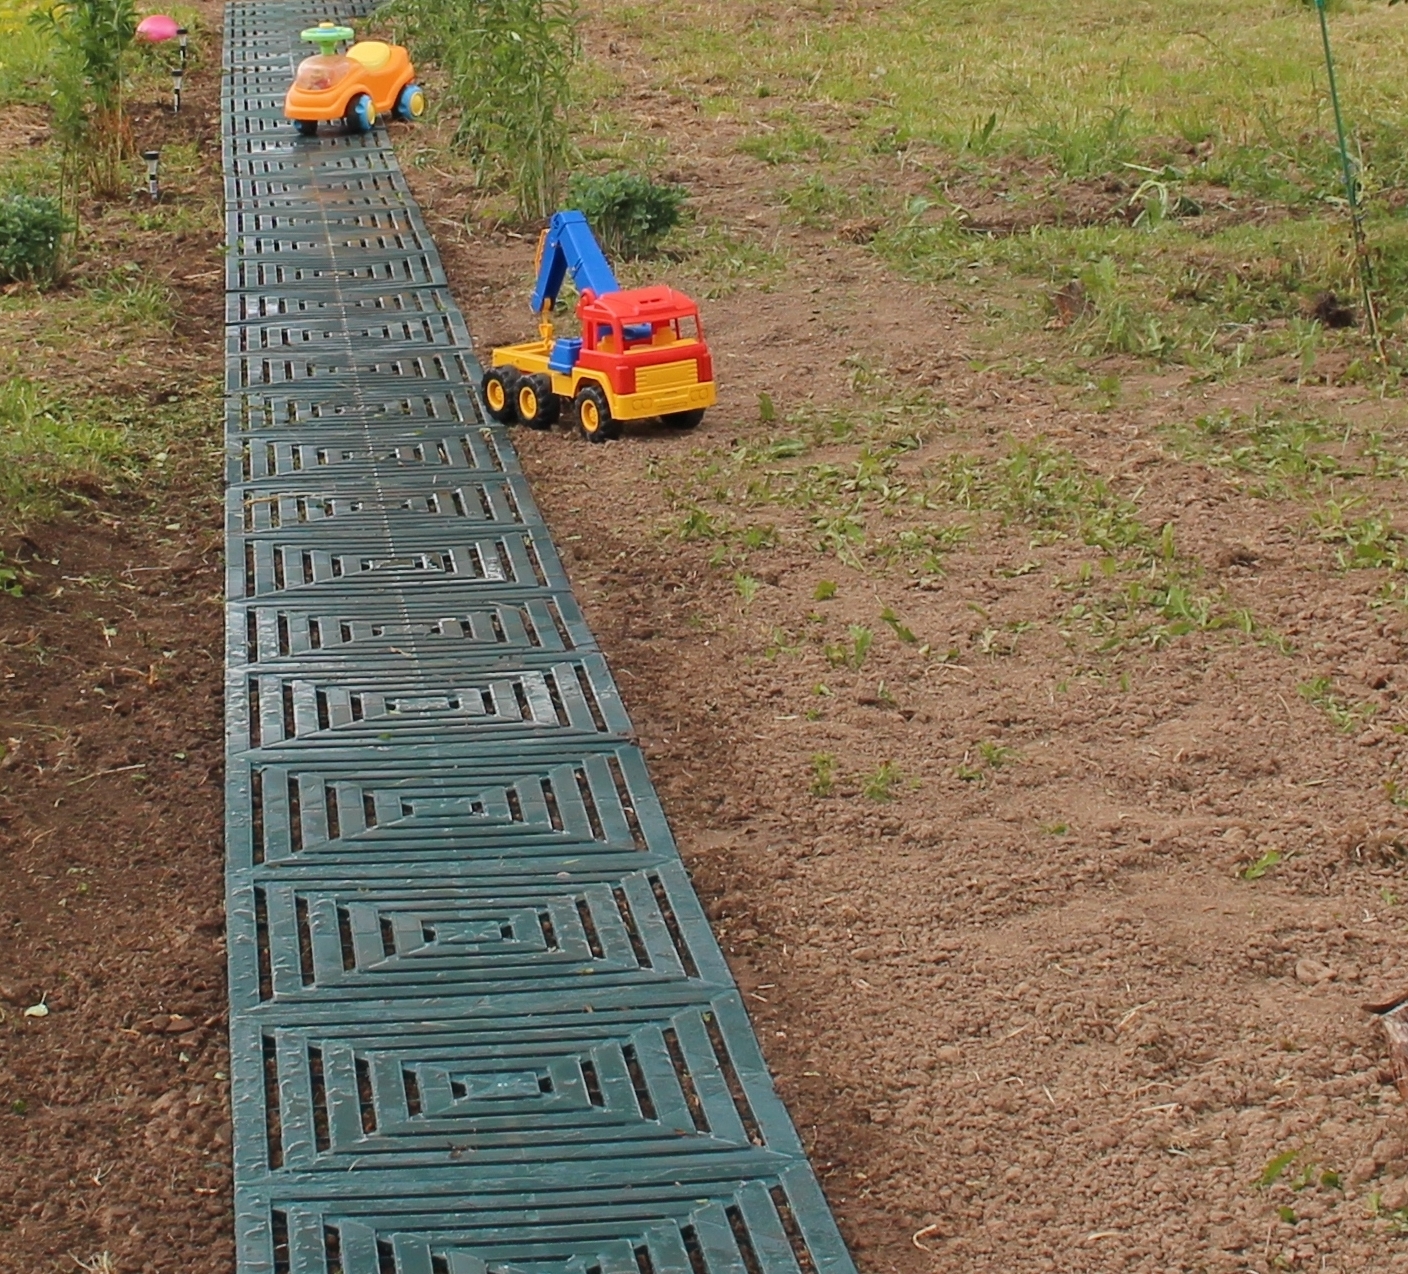
Plastic modules are not very expensive and easy to install.
Lawn grill does not require special preparatory work
You can make tracks with your own hands today without much effort. There are dozens of technologies in the world that make life easier for owners of private homes. One of the fastest technologies can rightfully be considered the use of special plastic molds. Everything is quite simple: cement is poured into the mold and left to dry completely. For comfortable work, you need to acquire several samples, 2 or 3 forms will be quite enough.
Before laying the tiles, excavation is necessary. The first layer is filled with sand to a depth of about 10-15 cm, then crushed stone is distributed (7-10 cm), completion of the preparatory work is necessary by distributing another layer of sand. After that, the sand is compacted and you can start laying tiles made using forms. It is recommended to fill the formed gaps with sand, and then moisten the entire structure with a small amount of water.


Thank!
In the near future we will publish information.