
0 photo
Loving parents, trying to develop their child from birth, use modern techniques ...
The final moment in the design of the walls of the tiles is always grouting. After that, the finish takes on a complete aesthetic appearance. DIY grouting tiles in the bathroom does not require professional skills.
19
Sealing the joints between the tiles is carried out in order to give the surface an aesthetic appearance and affects the protection against fungal infections, and also extends the life of the finish itself. What tools and materials are needed for the work and how to properly grout the joints in the bathroom on our own we will describe below.
So, the decision was made to grout the joints yourself. To do this, stock up on some theoretical knowledge.
Do-it-yourself grouting of tiles in the bathroom does not require professional skills
Content
The installation of tiles always involves ensuring the distance between them. This is to protect the tiles from cracking, which can occur from temperature changes in the bathroom and changes in water conditions. Also, there are always gaps between the tiles and the installed sanitary - technical devices: bathtub, sink, baseboards. These gaps must be sealed to prevent dust and moisture from entering them.
For grouting, various types of grout are used that have their purpose.
The main types:
18

17
16
The cost of two kilograms of dry mix for grouting joints for the bathroom is about two hundred rubles. The pricing policy of grout mixtures is influenced by the brand of the manufacturer, composition, color, packaging.
The brands that produce mixtures for tiles and are well-established are: Baulux, Ceresit, Knauf, Atlas. Each of them is suitable for working with seams in the bathroom.
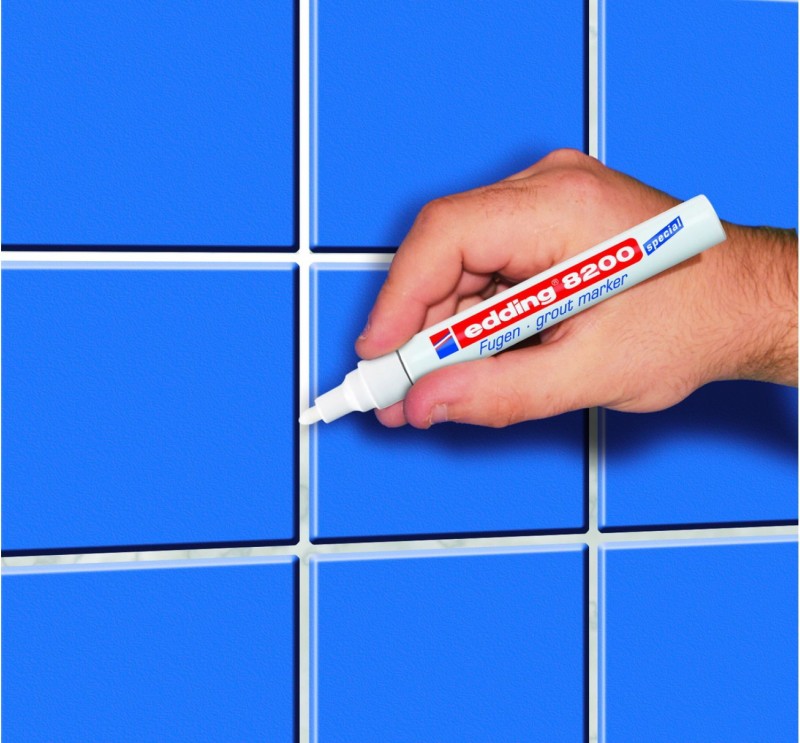
If the area requiring sealing is small, you can use liquid solutions.
Tile grouting
Preparation stage
Clean the seams from dust. This is easy to do with a vacuum cleaner. If there is no vacuum cleaner, use a medium-hard bristle brush. Clean old grouts and grout.
15
Tip: Pick up tools in advance and the care products will not leave scratches on the tile.
Wet the seams with water. This can be done with a household spray gun for flowers.
ATTENTION !: Begin grouting twenty-four hours after the tile sticker.
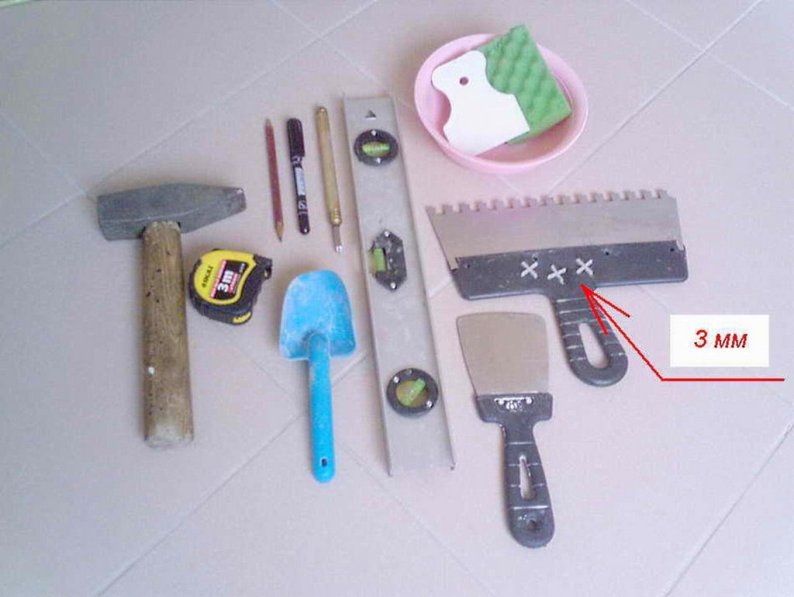
To organize the work you need:
14
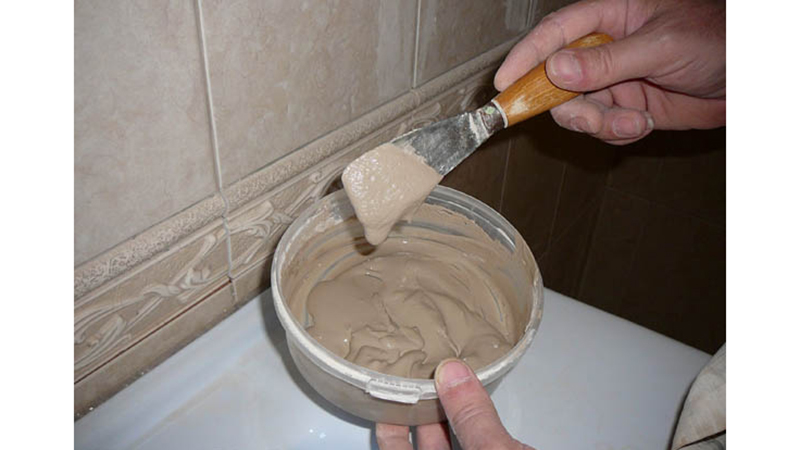
Pour dry grout into the prepared container. Dilute with water and mix thoroughly until the necessary consistency of thick sour cream. Proportions are indicated by the manufacturer on the packaging. Mix the solution in twice, with an interval of fifteen minutes. This is necessary for its maturation. As an auxiliary tool for stirring, you can use a mixer.
You can use a mixer as an auxiliary tool for stirring.
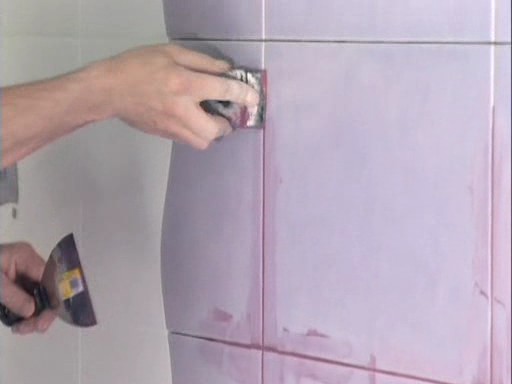
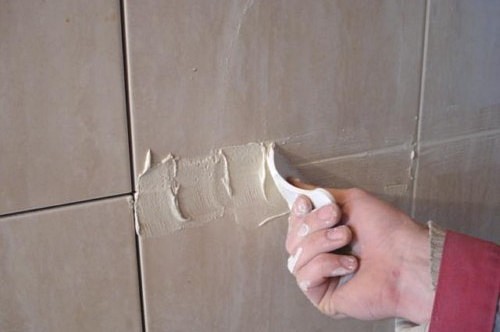
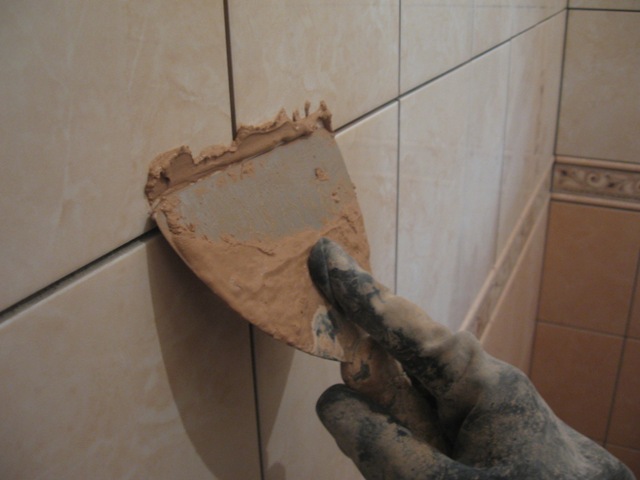
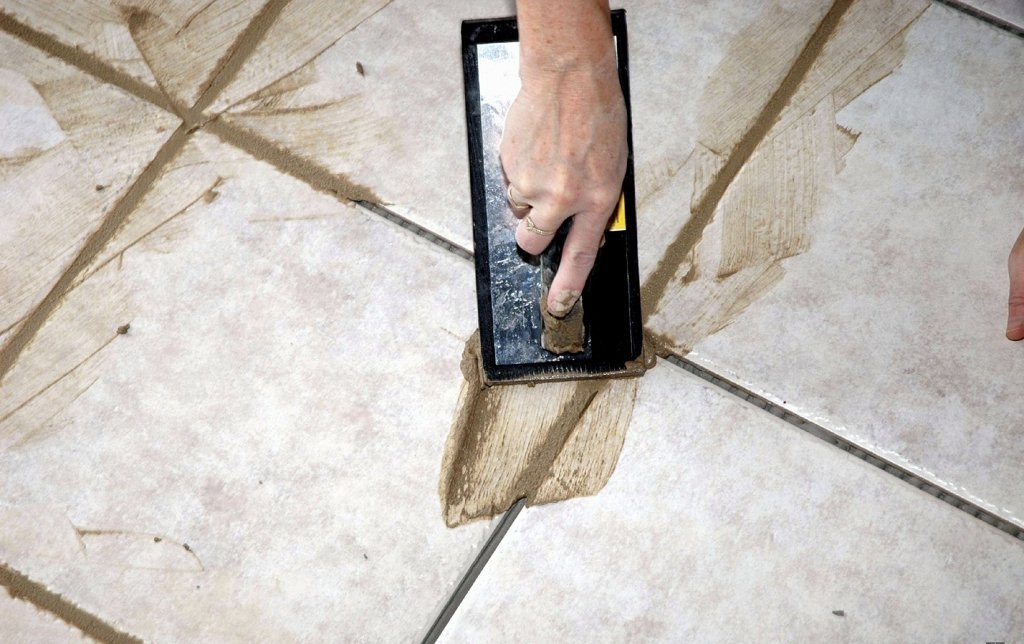
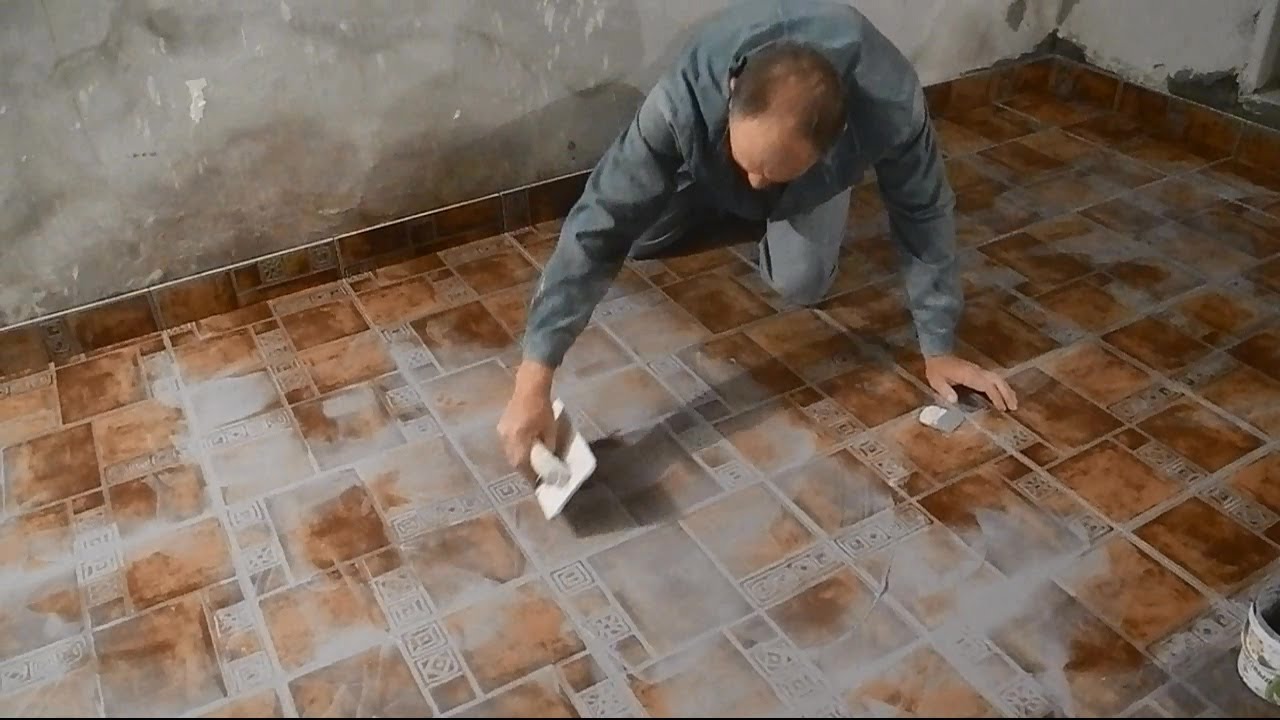
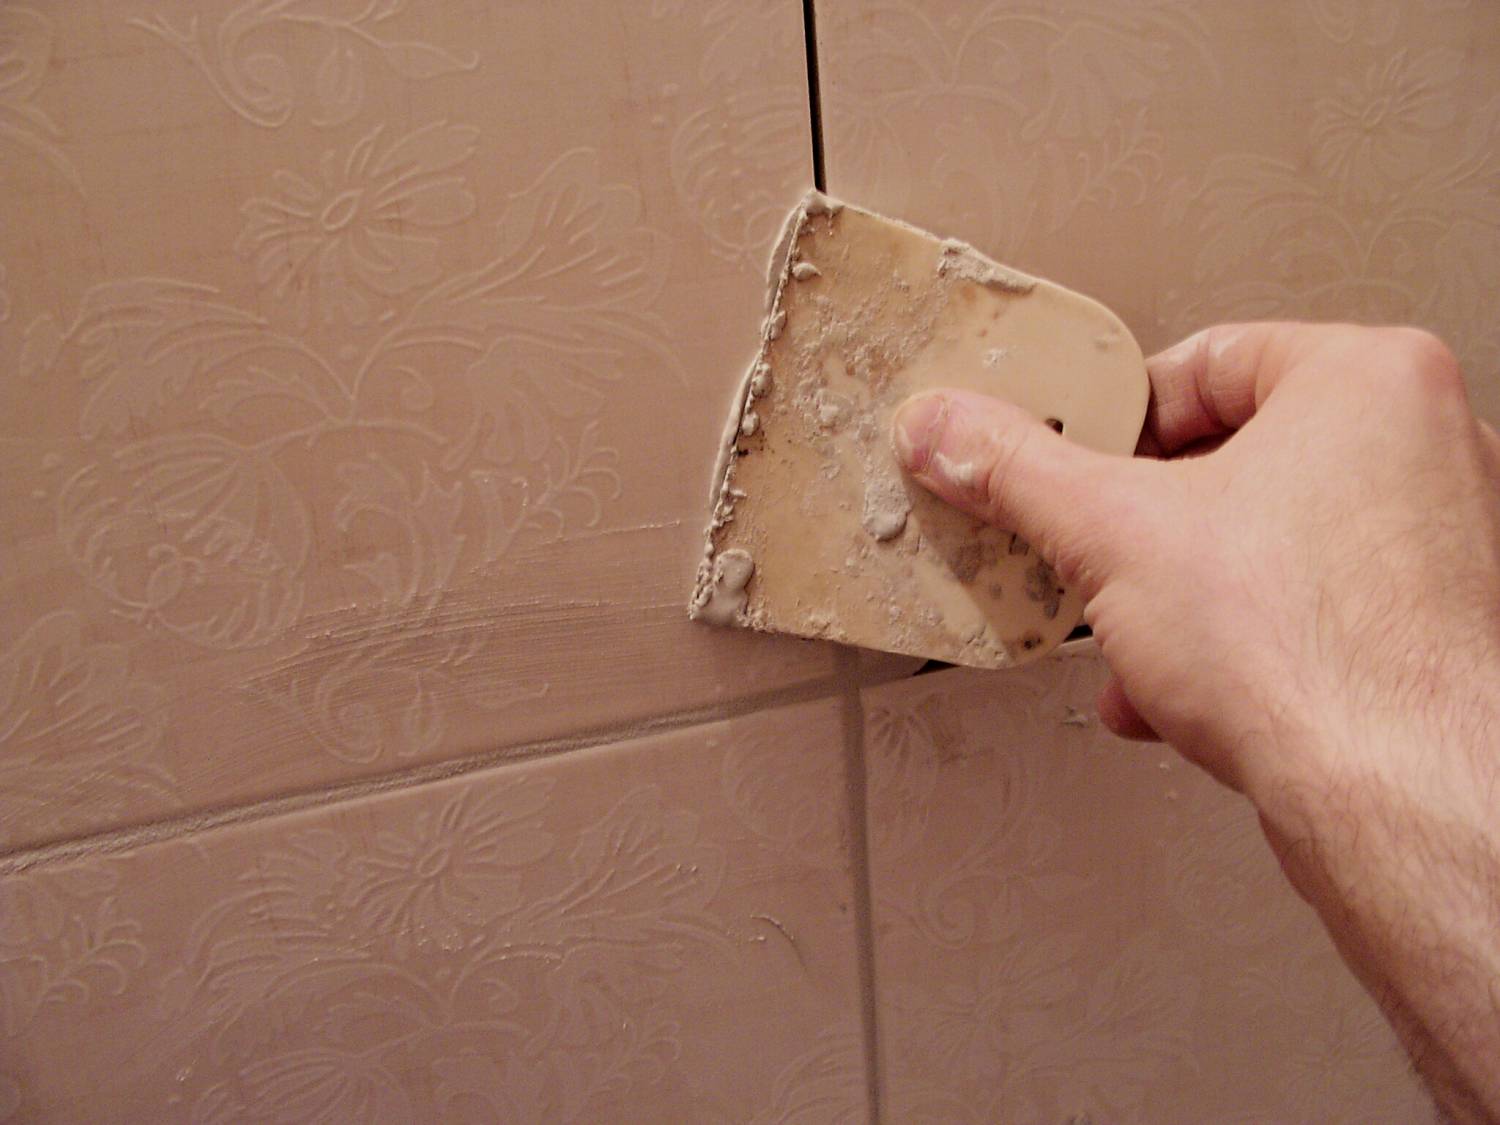
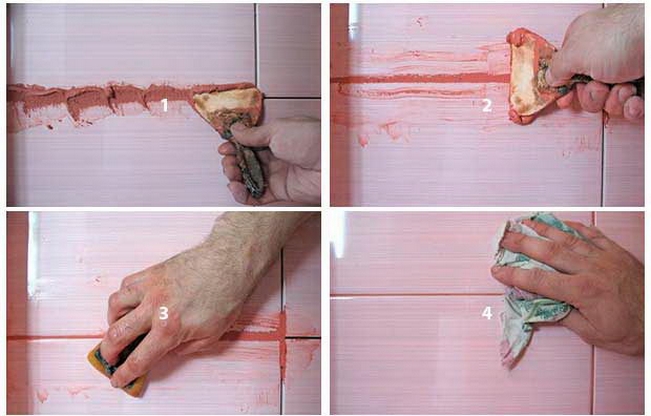
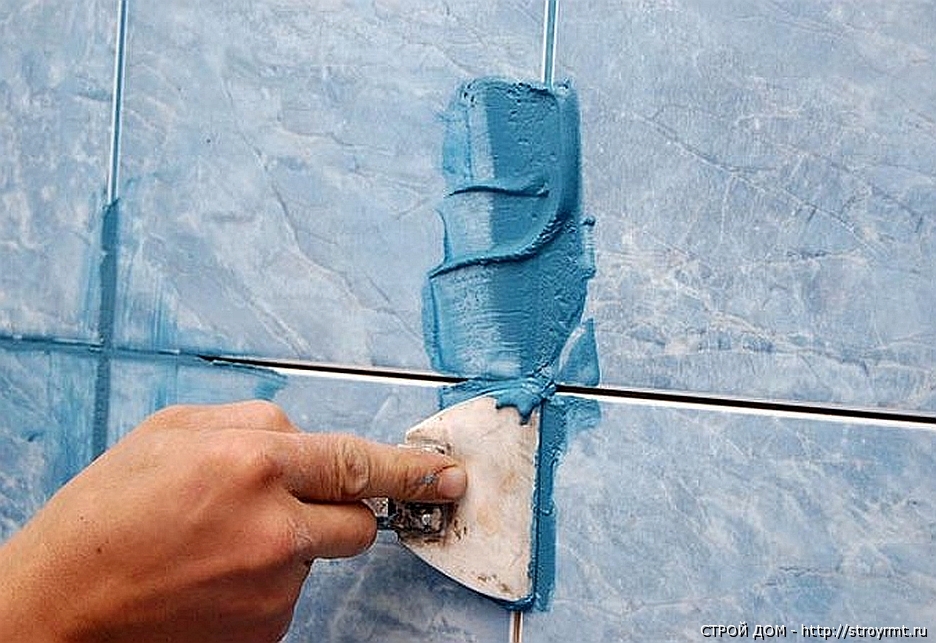
Proceed to the stage when the preparatory procedures are completed. Scoop the finished grout mixture from the container with a steel spatula. From it, take a small amount of solution and fill the seam. Remove excess grout. How much mixture, for convenience, you need to take on a rubber spatula to grout the seam, experience will tell. Also, alternately, fill in the remaining sections.

13
Tip: The mixture may shrink. In this case, repeat the application of a fresh coat.
After work, rest for thirty minutes - until the grout dries, and then conduct a visual audit of the seams. Moisten the prepared rag with warm water, squeeze it well and lightly remove excess solution from the tile.
12
IMPORTANT! Remove excess mastic with wide movements in a circle. This will ensure the preservation of the integrity of the grout in the seams. This is especially important for mosaic tiles.
Unfilled areas that appear after drying the grout, fill in and allow to dry. Next, wipe the tile with a damp cloth.
11
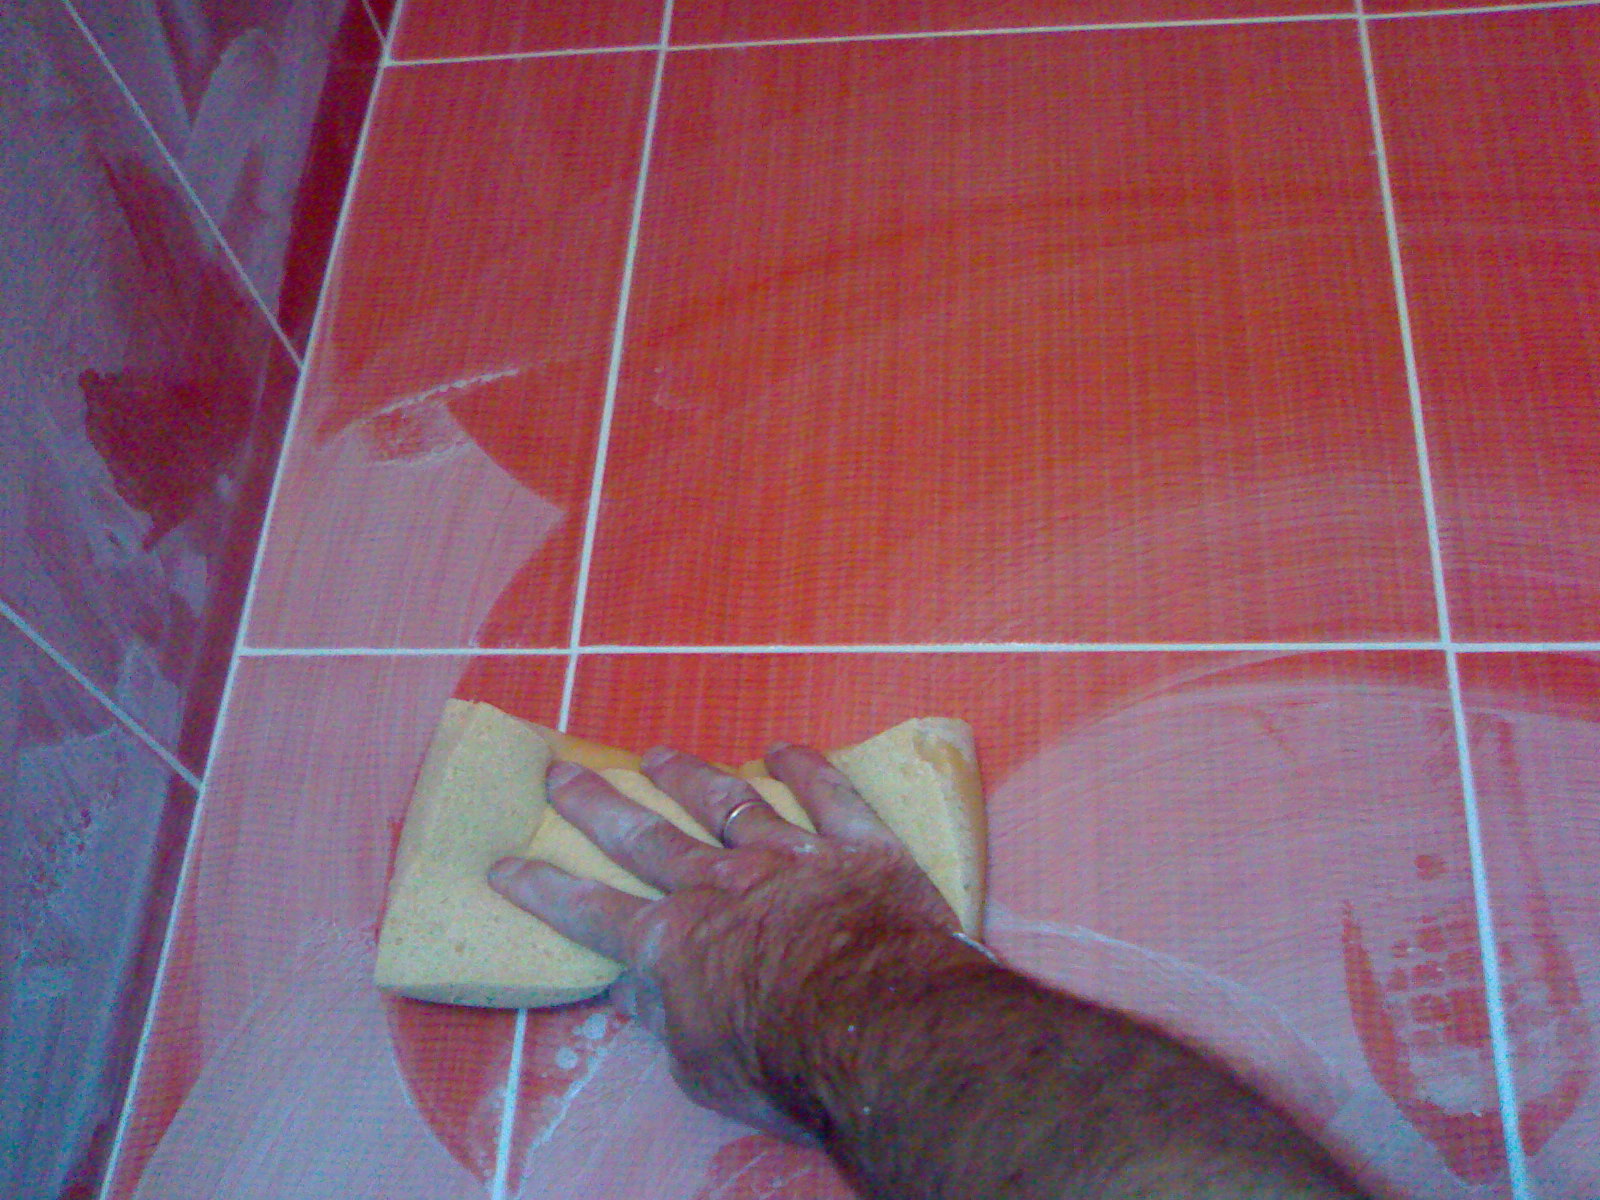
Tip: To avoid stains on the tiles, wash the sponge periodically. Remove excess mastic from the tile immediately, without waiting for it to dry completely. Otherwise, to remove it, you will have to use a solvent.
Unfilled areas that appear after drying the grout, fill in and let dry
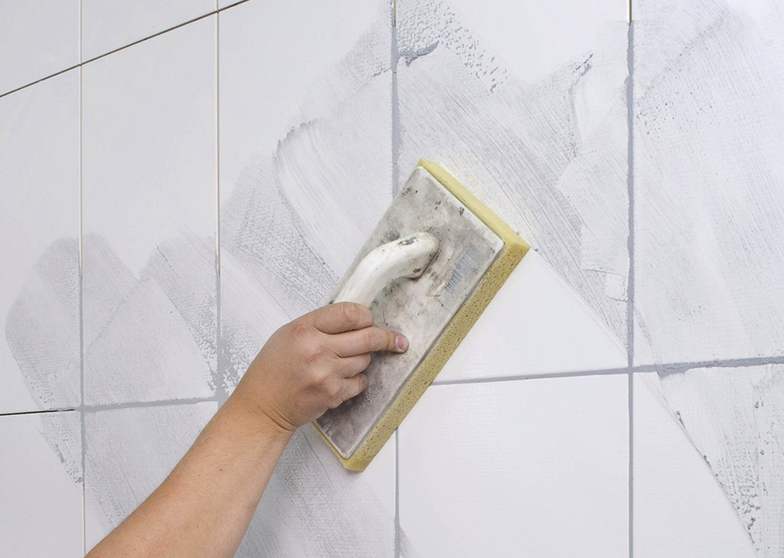
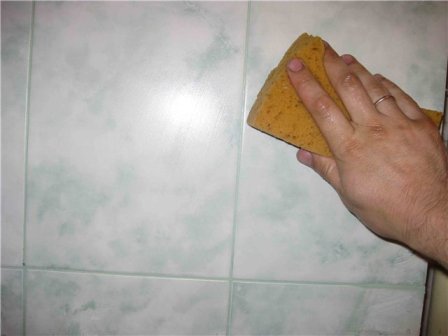
After drying the grout, wipe the entire surface of the tile with a damp cloth. Wait for the grout to dry completely.
The manufacturer indicates the drying time on the packaging. Usually it is twenty-four hours:
10
The mastic applied several years ago can always be refreshed, and even changed by choosing a grout of a contrasting color with the tile, to embody new ideas. For example, a black tile will perfectly combine with a golden grout.
The question for many is very relevant. Joint protection can be done:
9
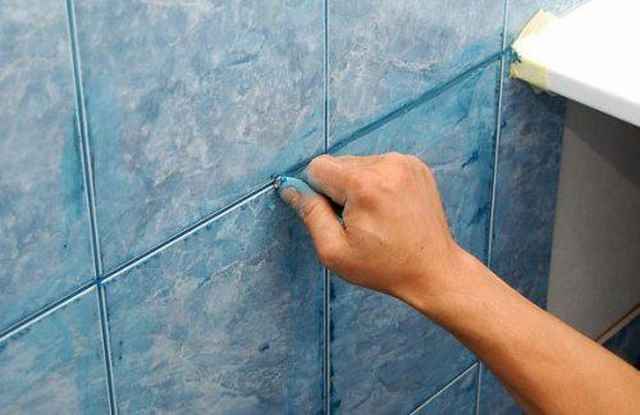
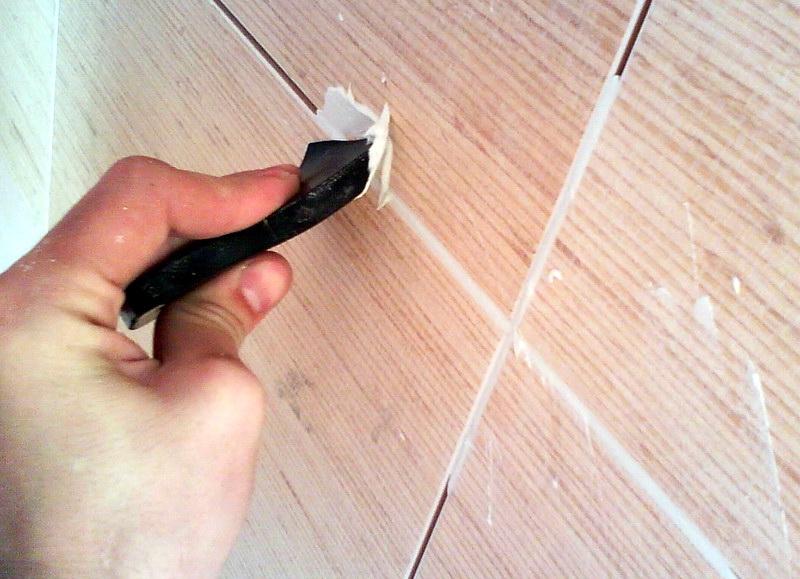
When the sink or bathroom is installed close to the wall, carry out work on leveling the seam with sealant - this will provide protection against water ingress. Before applying the sealant, the seam is cleaned of dust and cut, in order to form an imperceptible connection between the surfaces.

Before applying the sealant, the seam is cleaned of dust and cut, in order to form an imperceptible connection between the surfaces.
After some time, between the tile joints in the bathroom should be updated. The need is caused by both external aesthetics and hygiene requirements. In old seams, when the rooms are quite wet, a large number of bacteria and fungi accumulate, and this is very dangerous for health. A person may develop allergic reactions and skin diseases. Therefore, the maintenance of the premises in a clean and repaired condition is necessary for the normal implementation of its functionality.
8
Sanitation of the bathroom must be done regularly. You must carefully wipe and rinse all the elements of ceramics and faience, as well as the gaps between them. A large arsenal of tile care products from our chemical industry will help.To clean the bathroom, it is better to use chlorine-containing solutions, they eliminate up to 98% of known bacteria. However, after a while the grout between the joints can become thinner from constant mechanical and chemical effects and a new grout is required. To determine the need for its replacement, consider the presence of the following symptoms:
7
Tip: If you have any of the above signs, immediately perform a general cleaning of the old mastic in the bathroom.
6
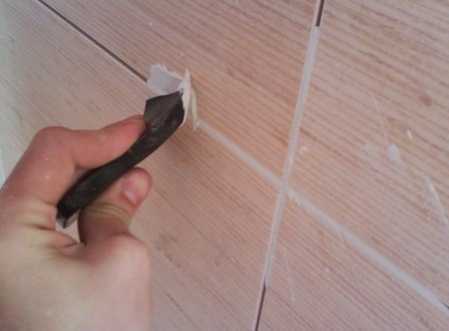
It often happens when the usual general cleaning is not enough - too “neglected” seams (rust, mold). In this case, use more serious measures: replacing the grout between the tiles. This allows you to sanitize the room, change its grout color, which generally positively affects the appearance of the room.
In this case, use more serious measures: replacing the grout between the tiles.
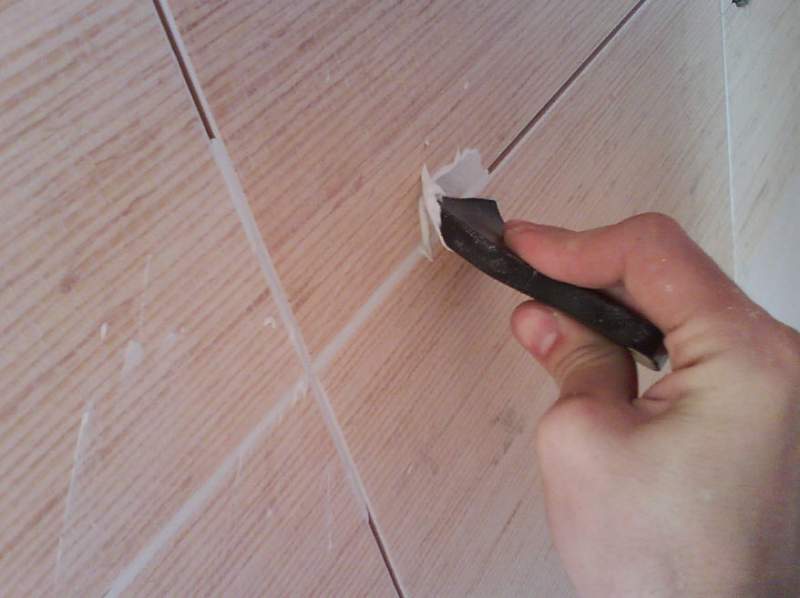
Use a spatula to dispose of the old grout. To do this, moisten the seam with water, then carefully scrape off all the mastic. Carry out the work very carefully, since there is a possibility of breaking the surface of the tile. To remove epoxy from the joints, resort to the use of a special solvent. After the seams are cleaned, carry out an antifungal treatment. This must be done both before applying the solution, and after it dries.
5
IMPORTANT! Do not neglect antifungal treatment. It is necessary to fight bacteria and prevent the destruction of grouting joints.
1
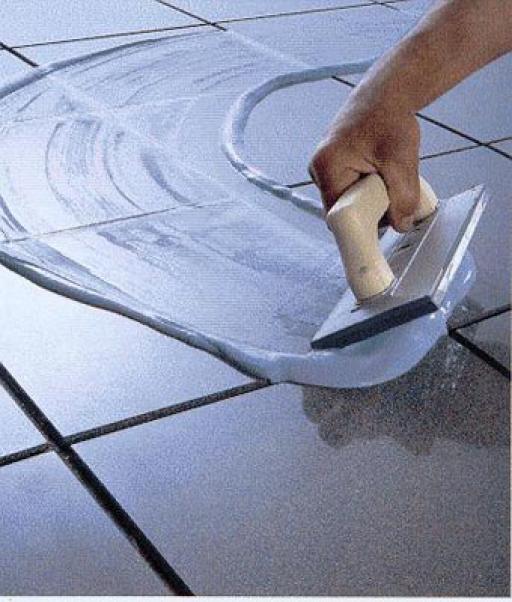
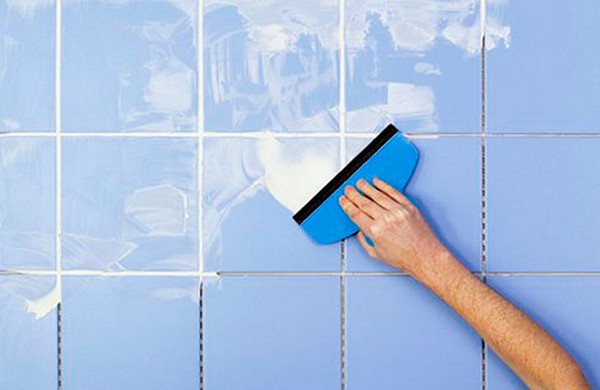
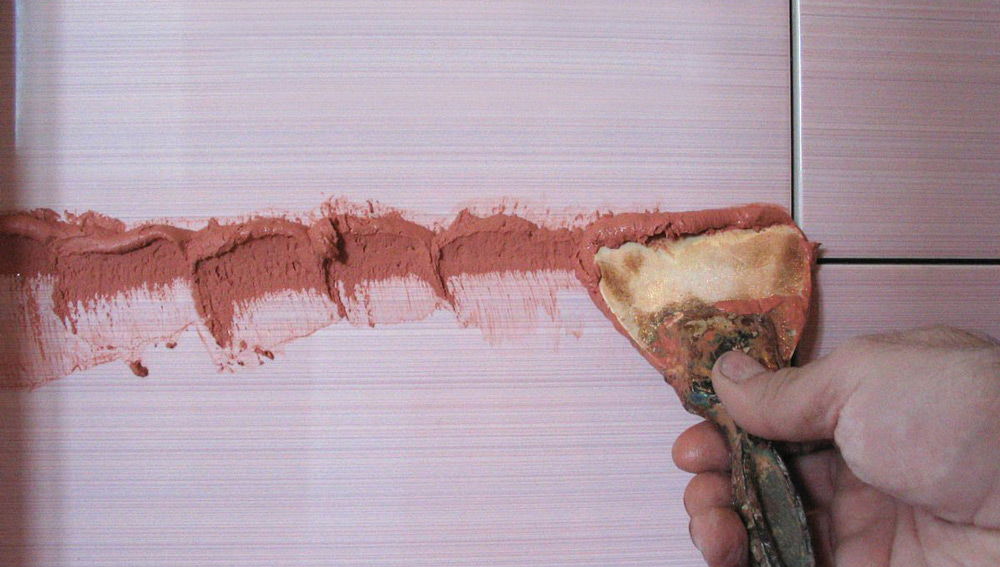
Applying grouting between tiles in the bathroom is an easy task that any beginner can handle. The sequence of all works has already been discussed above. The dry mixture is stirred with water. Do this carefully, as there is a danger of getting the solution too liquid. The normal consistency of the grout should reach a state of thick sour cream. After mixing the solution well, leave it for fifteen minutes. Mix again (it’s better to dissolve the mixture) and start filling them in the seams between the tiles with small strokes.
4
There is a possibility that the drying solution will crack, so that this does not happen, when drying, spray the seam with plain water. If voids form, repeat the grouting process. After carrying out these works, rub the seams with a sponge.
Avoiding the need to change the trowel of the joints in the future, periodically clean the bathroom.
3
IMPORTANT! After completing all work, before performing water procedures, wait for the seams to dry completely, it will take at least five days.
2
We repeat that the best prevention of long-term grouting of the joints will be coating with protective agents. It will protect from the influence of negative factors, increase the life of the grout, and avoid the appearance of cracks on the tile.
Thus, following these tips, you will not only enjoy the work done by your own hands, but also save yourself from financial expenses in the future.


Thank!
In the near future we will publish information.